Apple’s AirTags are great. They work seamlessly with Apple’s devices through the Find My app and they are perfect for attaching to your keys, putting inside your luggage or perhaps finding somewhere a little more obscure to put them – something I did last year when I put one inside my child’s Puffin toy. Wherever you choose to place them – your car, under a bike seat, your backpack – there will come a time when you will need to replace their battery. Don’t worry, it’s pretty simple.
Well, it is in the most part unless, like me, the soft toy you put one in then got stitched up. It was a great idea at the time – still is in fact – until, of course, I realised I had to unpick the stitching and pull the AirTag out to replace its battery. Thankfully AirTag batteries last around a year – I got about 15 months out of the one in the Puffin soft toy. When you get the warning of low battery, you get a couple of months extra before it dies completely, after which, follow these steps to change an AirTag battery.
How to replace an AirTag battery
Here’s a step-by-step guide to changing an AirTag battery.
Remove accessories
Take your AirTag out of any accessory you have placed it in. It will need to be on its own, just like it is when you take it out of its packaging from new.
Push and twist
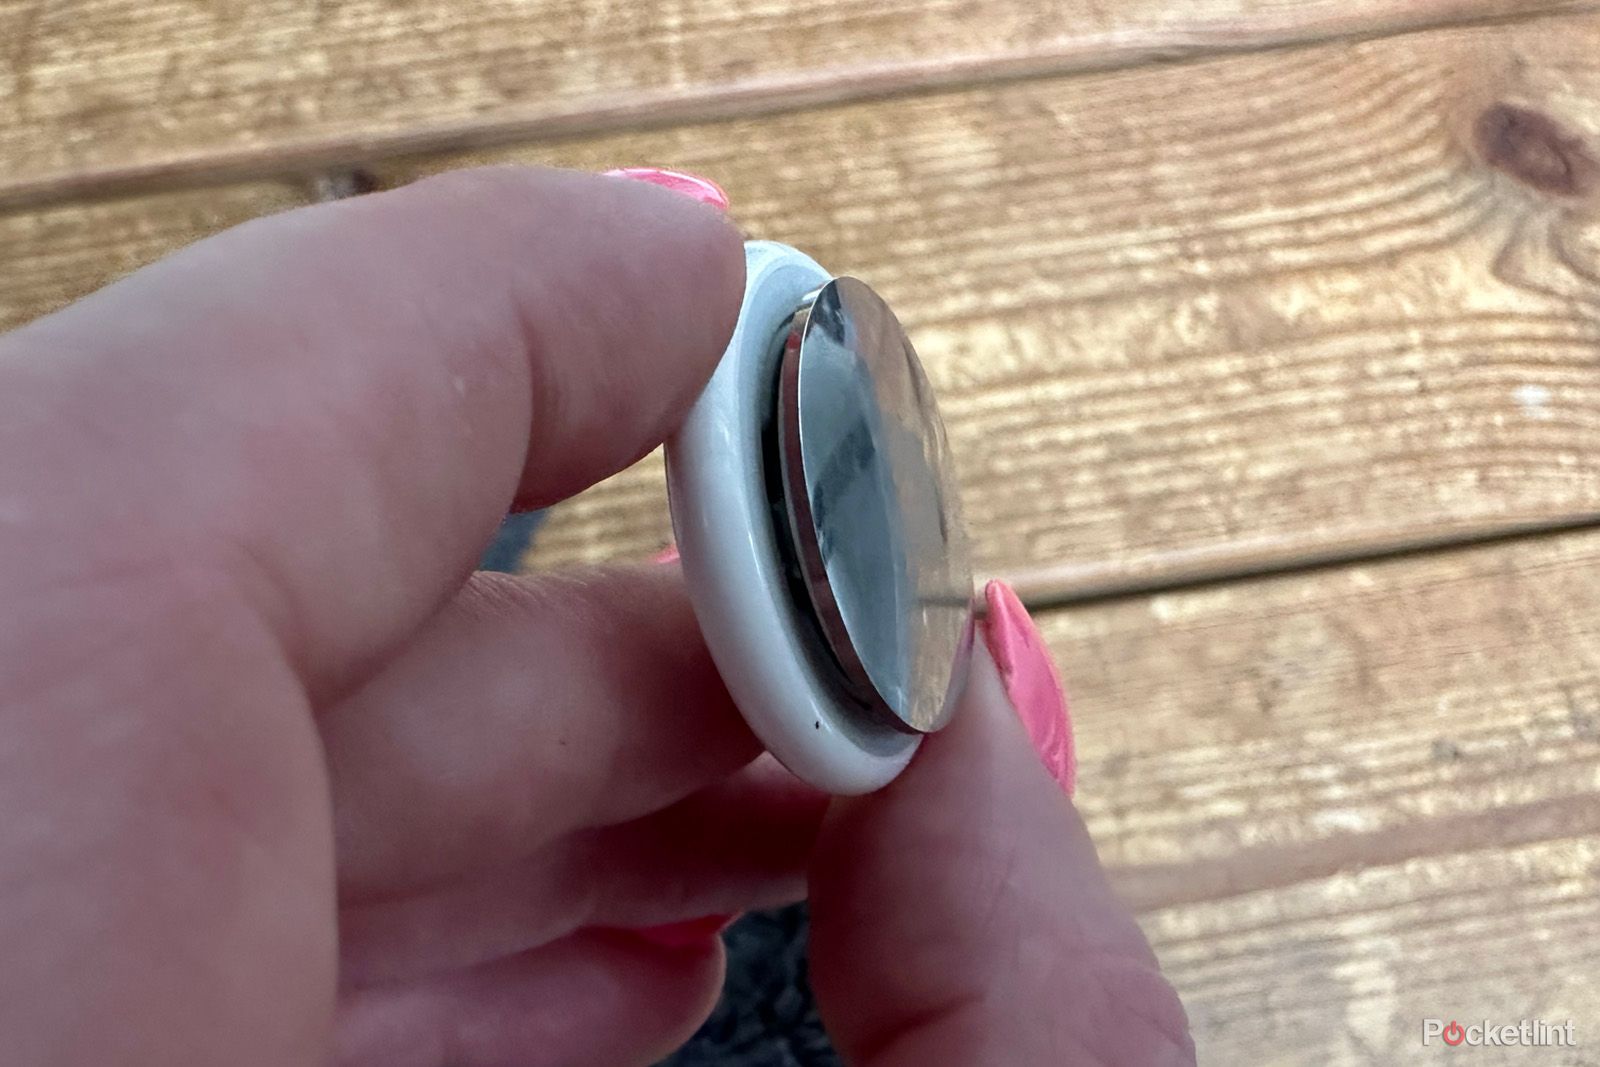
Push down on the metal side that features the Apple logo and twist it anti-clockwise. You don’t need to press too hard to be able to twist it. It’s a light but firm press.
Get your new battery ready
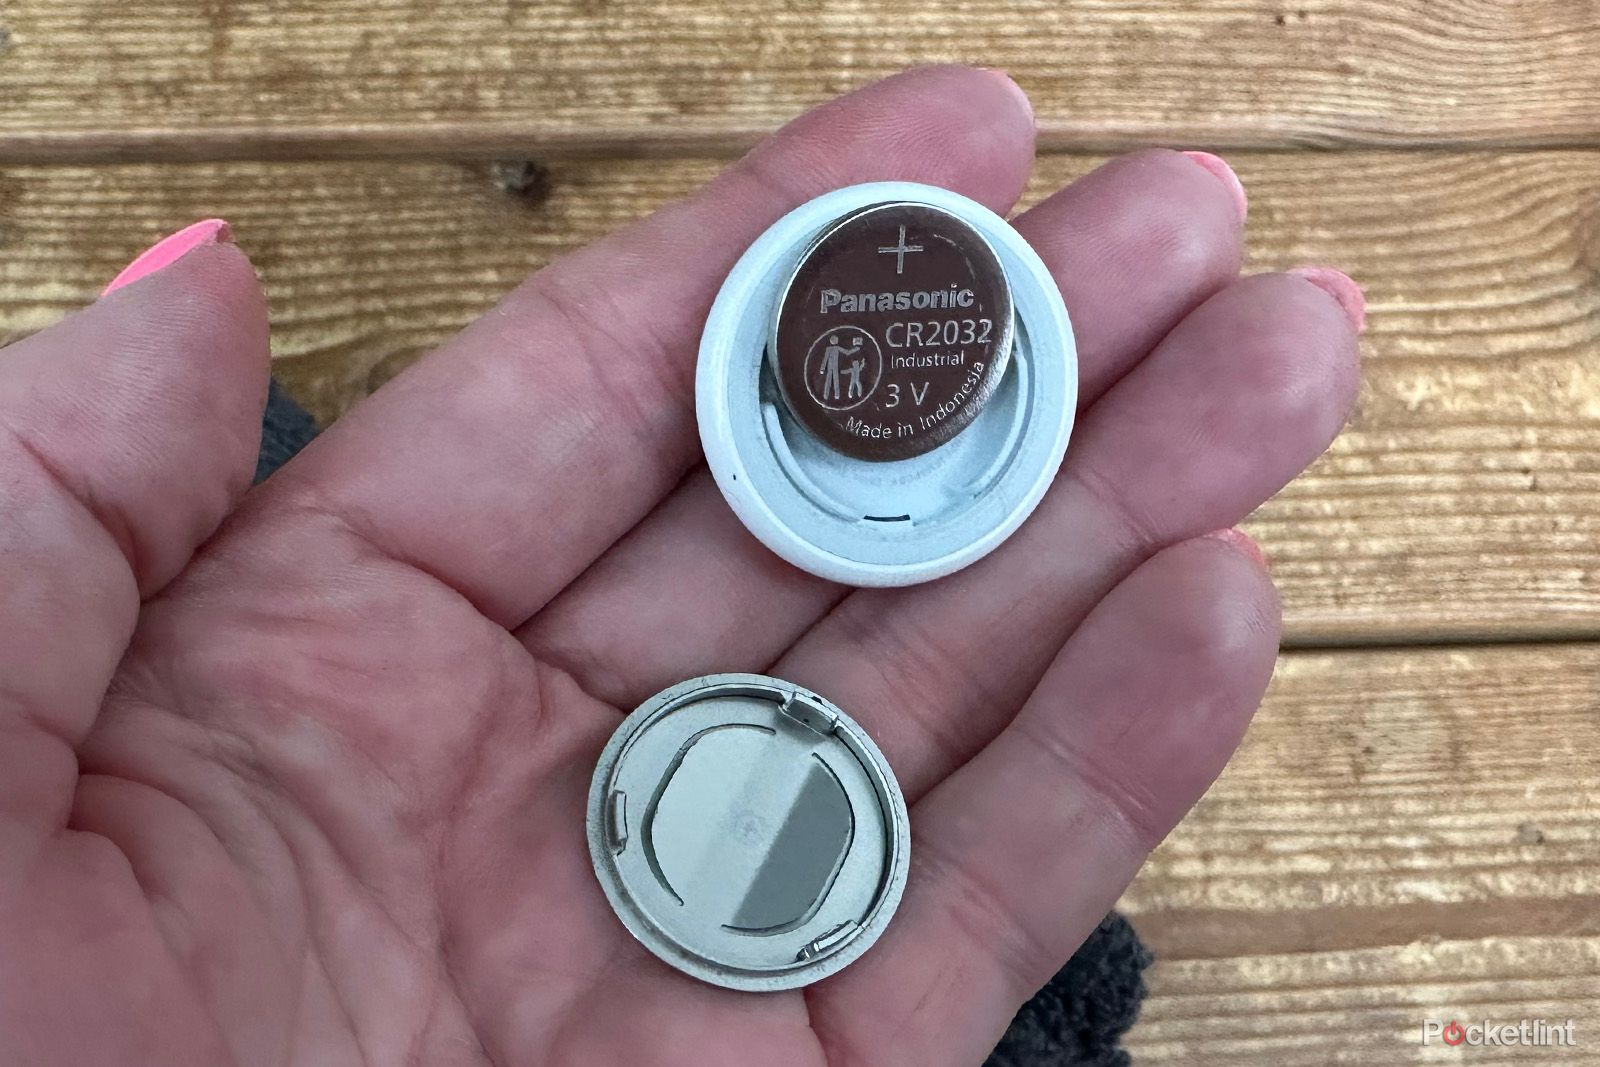
The metal part of the AirTag, or the back, will come away revealing the battery. It’s a coin battery – CR2032, so make sure you have one of those to hand.
Plus needs to be up
Pop out the old battery – this will pretty much happen we soon as your take the back off – and pop in the new battery. You’ll want the “+” of the battery facing up so you’re putting the negative side of the battery down.
Listen for the ping
You’ll hear a little ping when the battery is successfully in and working. Make sure you hear the sound as otherwise you might have a battery that’s not working and you don’t want to go to all this trouble for nothing.
Line up the markers
When you know it’s working, line up the three sections of the metal backing of the AirTag with the corresponding three sections of the ceramic half and push down.
Turn to lock
You’ll then want to turn the backing clockwise to lock it into place.
That’s it! All done. Unless you’re me. In which case, you’ll need to put the AirTag back into your child’s cuddly toy and stitch it back up for another year. When you head to the Find My app, you should see the low battery icon next to the item of the AirTag battery you just replaced has disappeared. If you want to get the most out of your AirTag once the battery has been replaced, we have a tips and tricks feature you can head to. We also have a feature on some great places to put an AirTag if you have one left over from a four-pack and you aren’t sure where to put it.

Apple / Pocket-lint
Apple AirTag 4 Pack
$89 $99 Save $10
Trending Products


