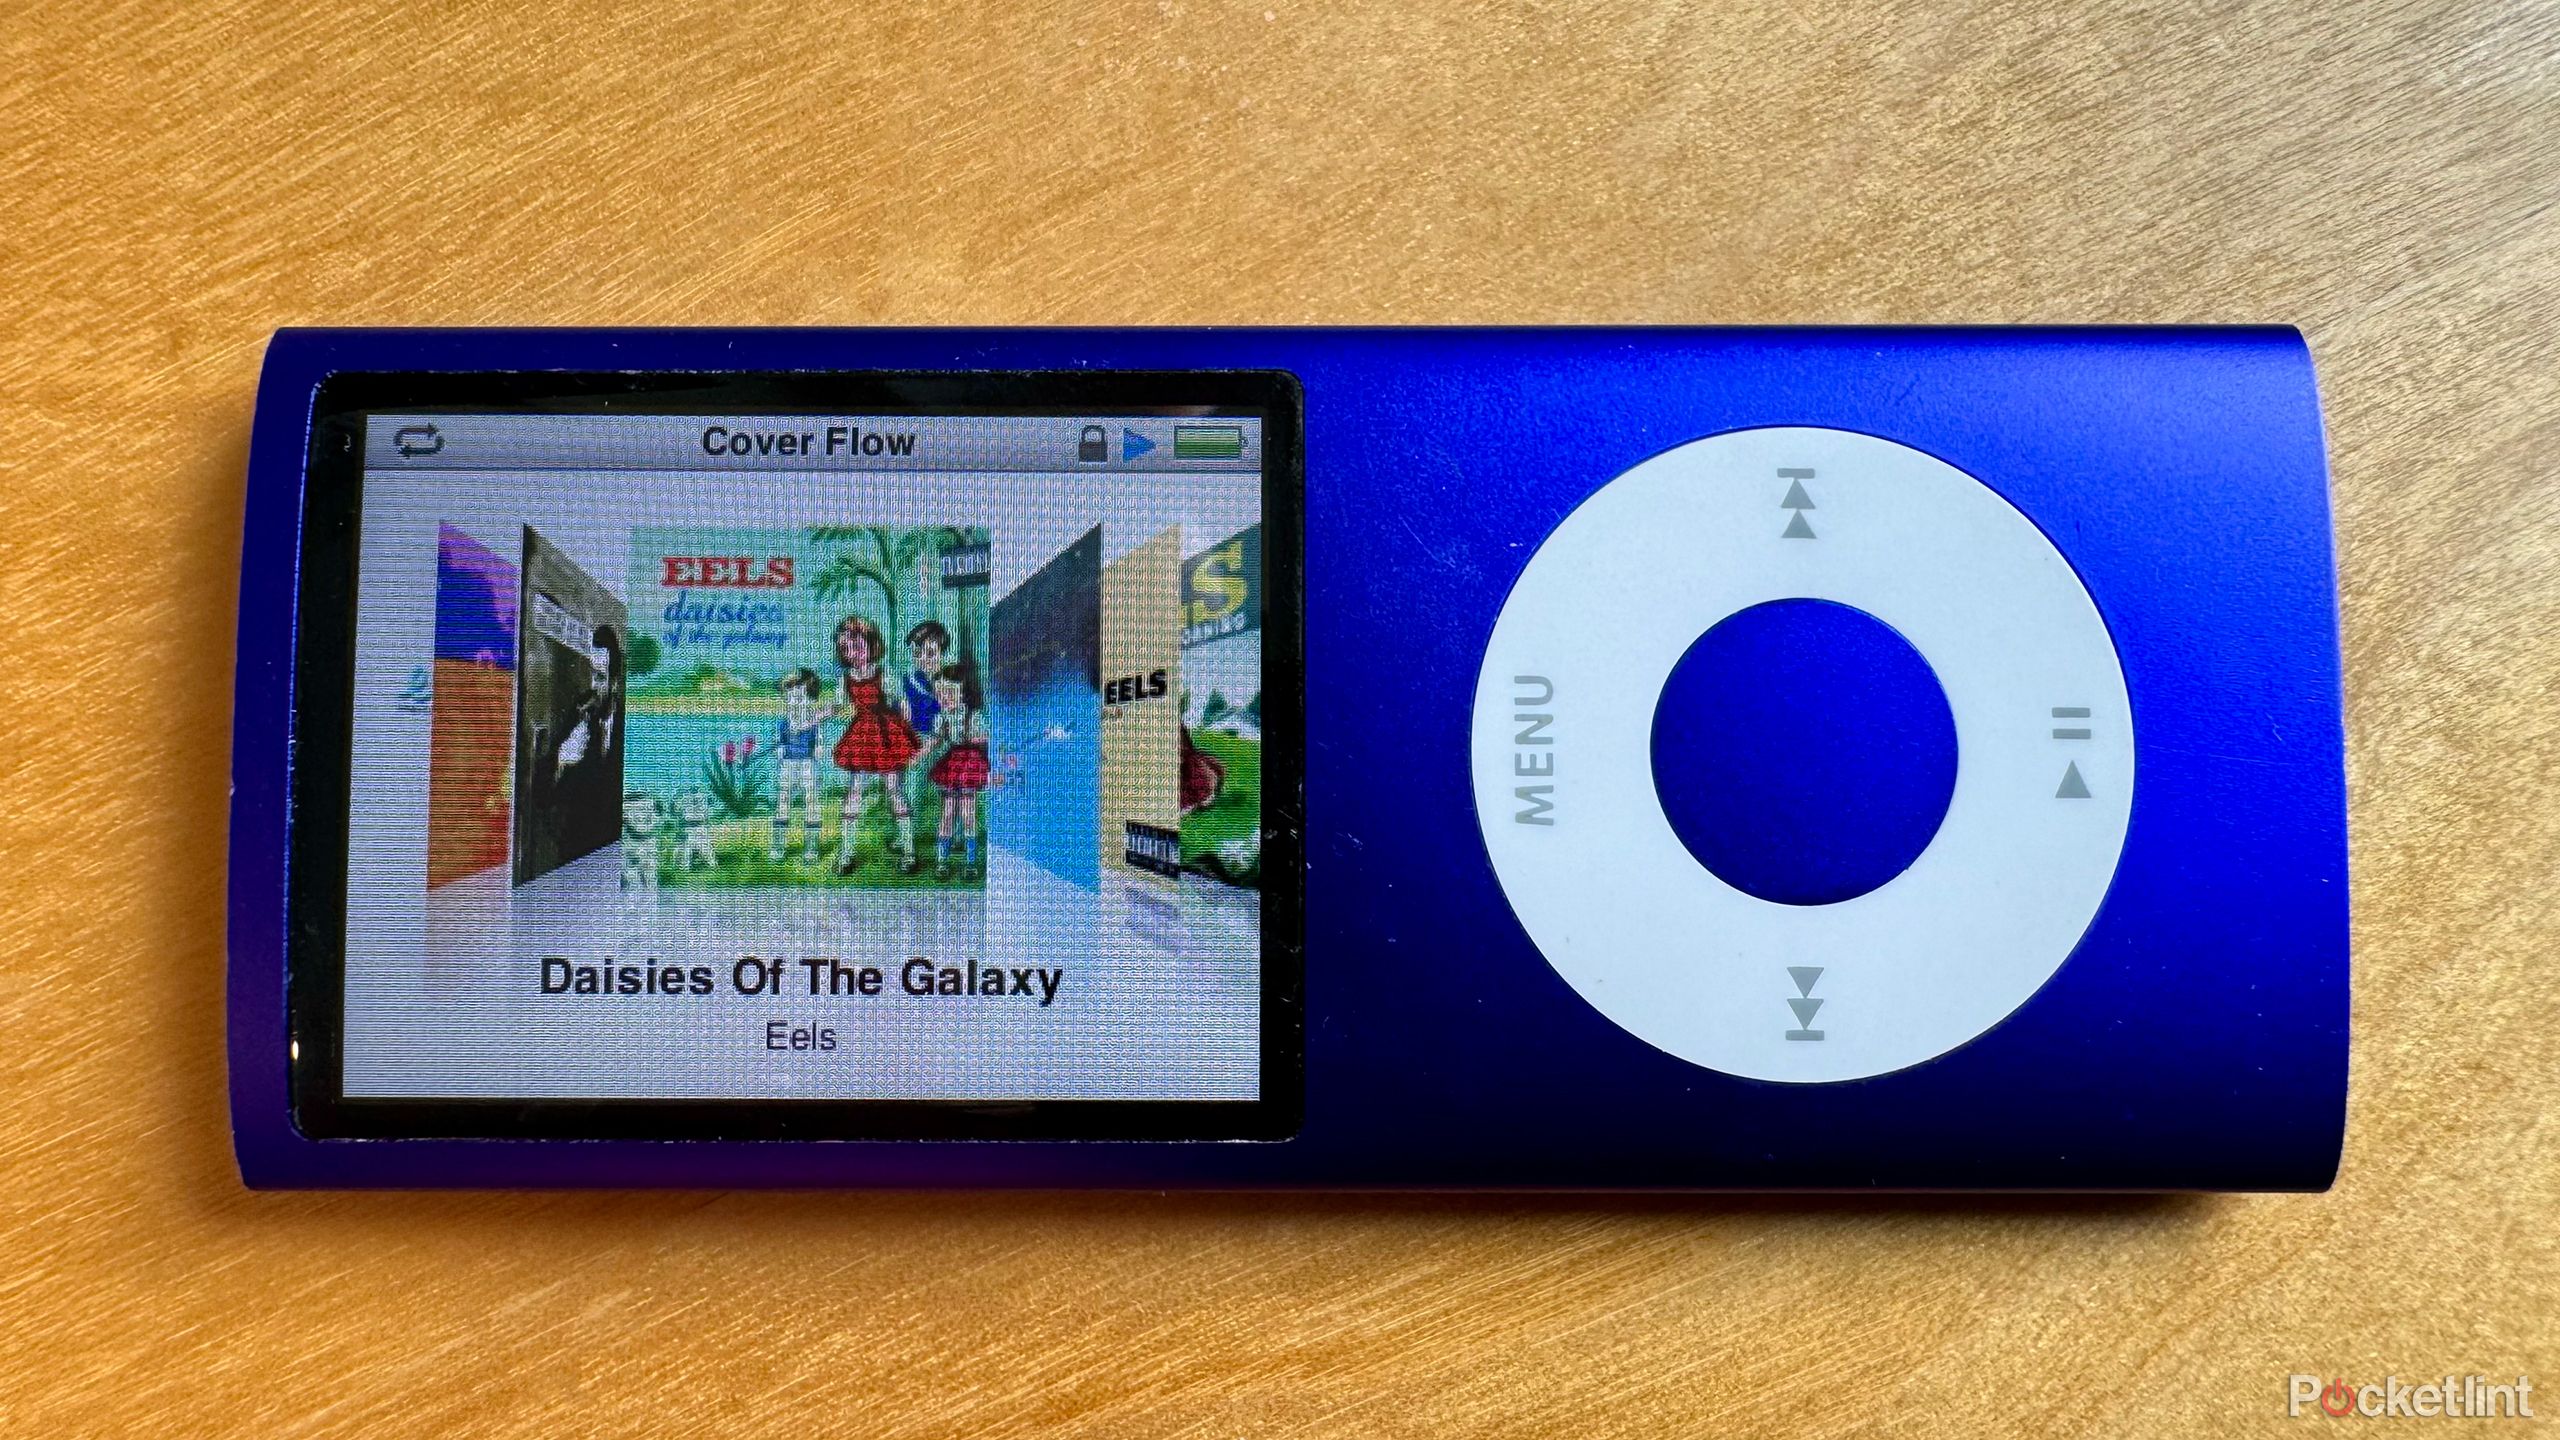
Apple may not always be the first to bring a product to market, but they do often cause popularity to skyrocket. The first iPhone was the product that really inspired people to make the transition to smartphones, and look where it’s brought the world now. But before smartphones, the iPod was the product that led to the boom in MP3 players in the early 2000s.
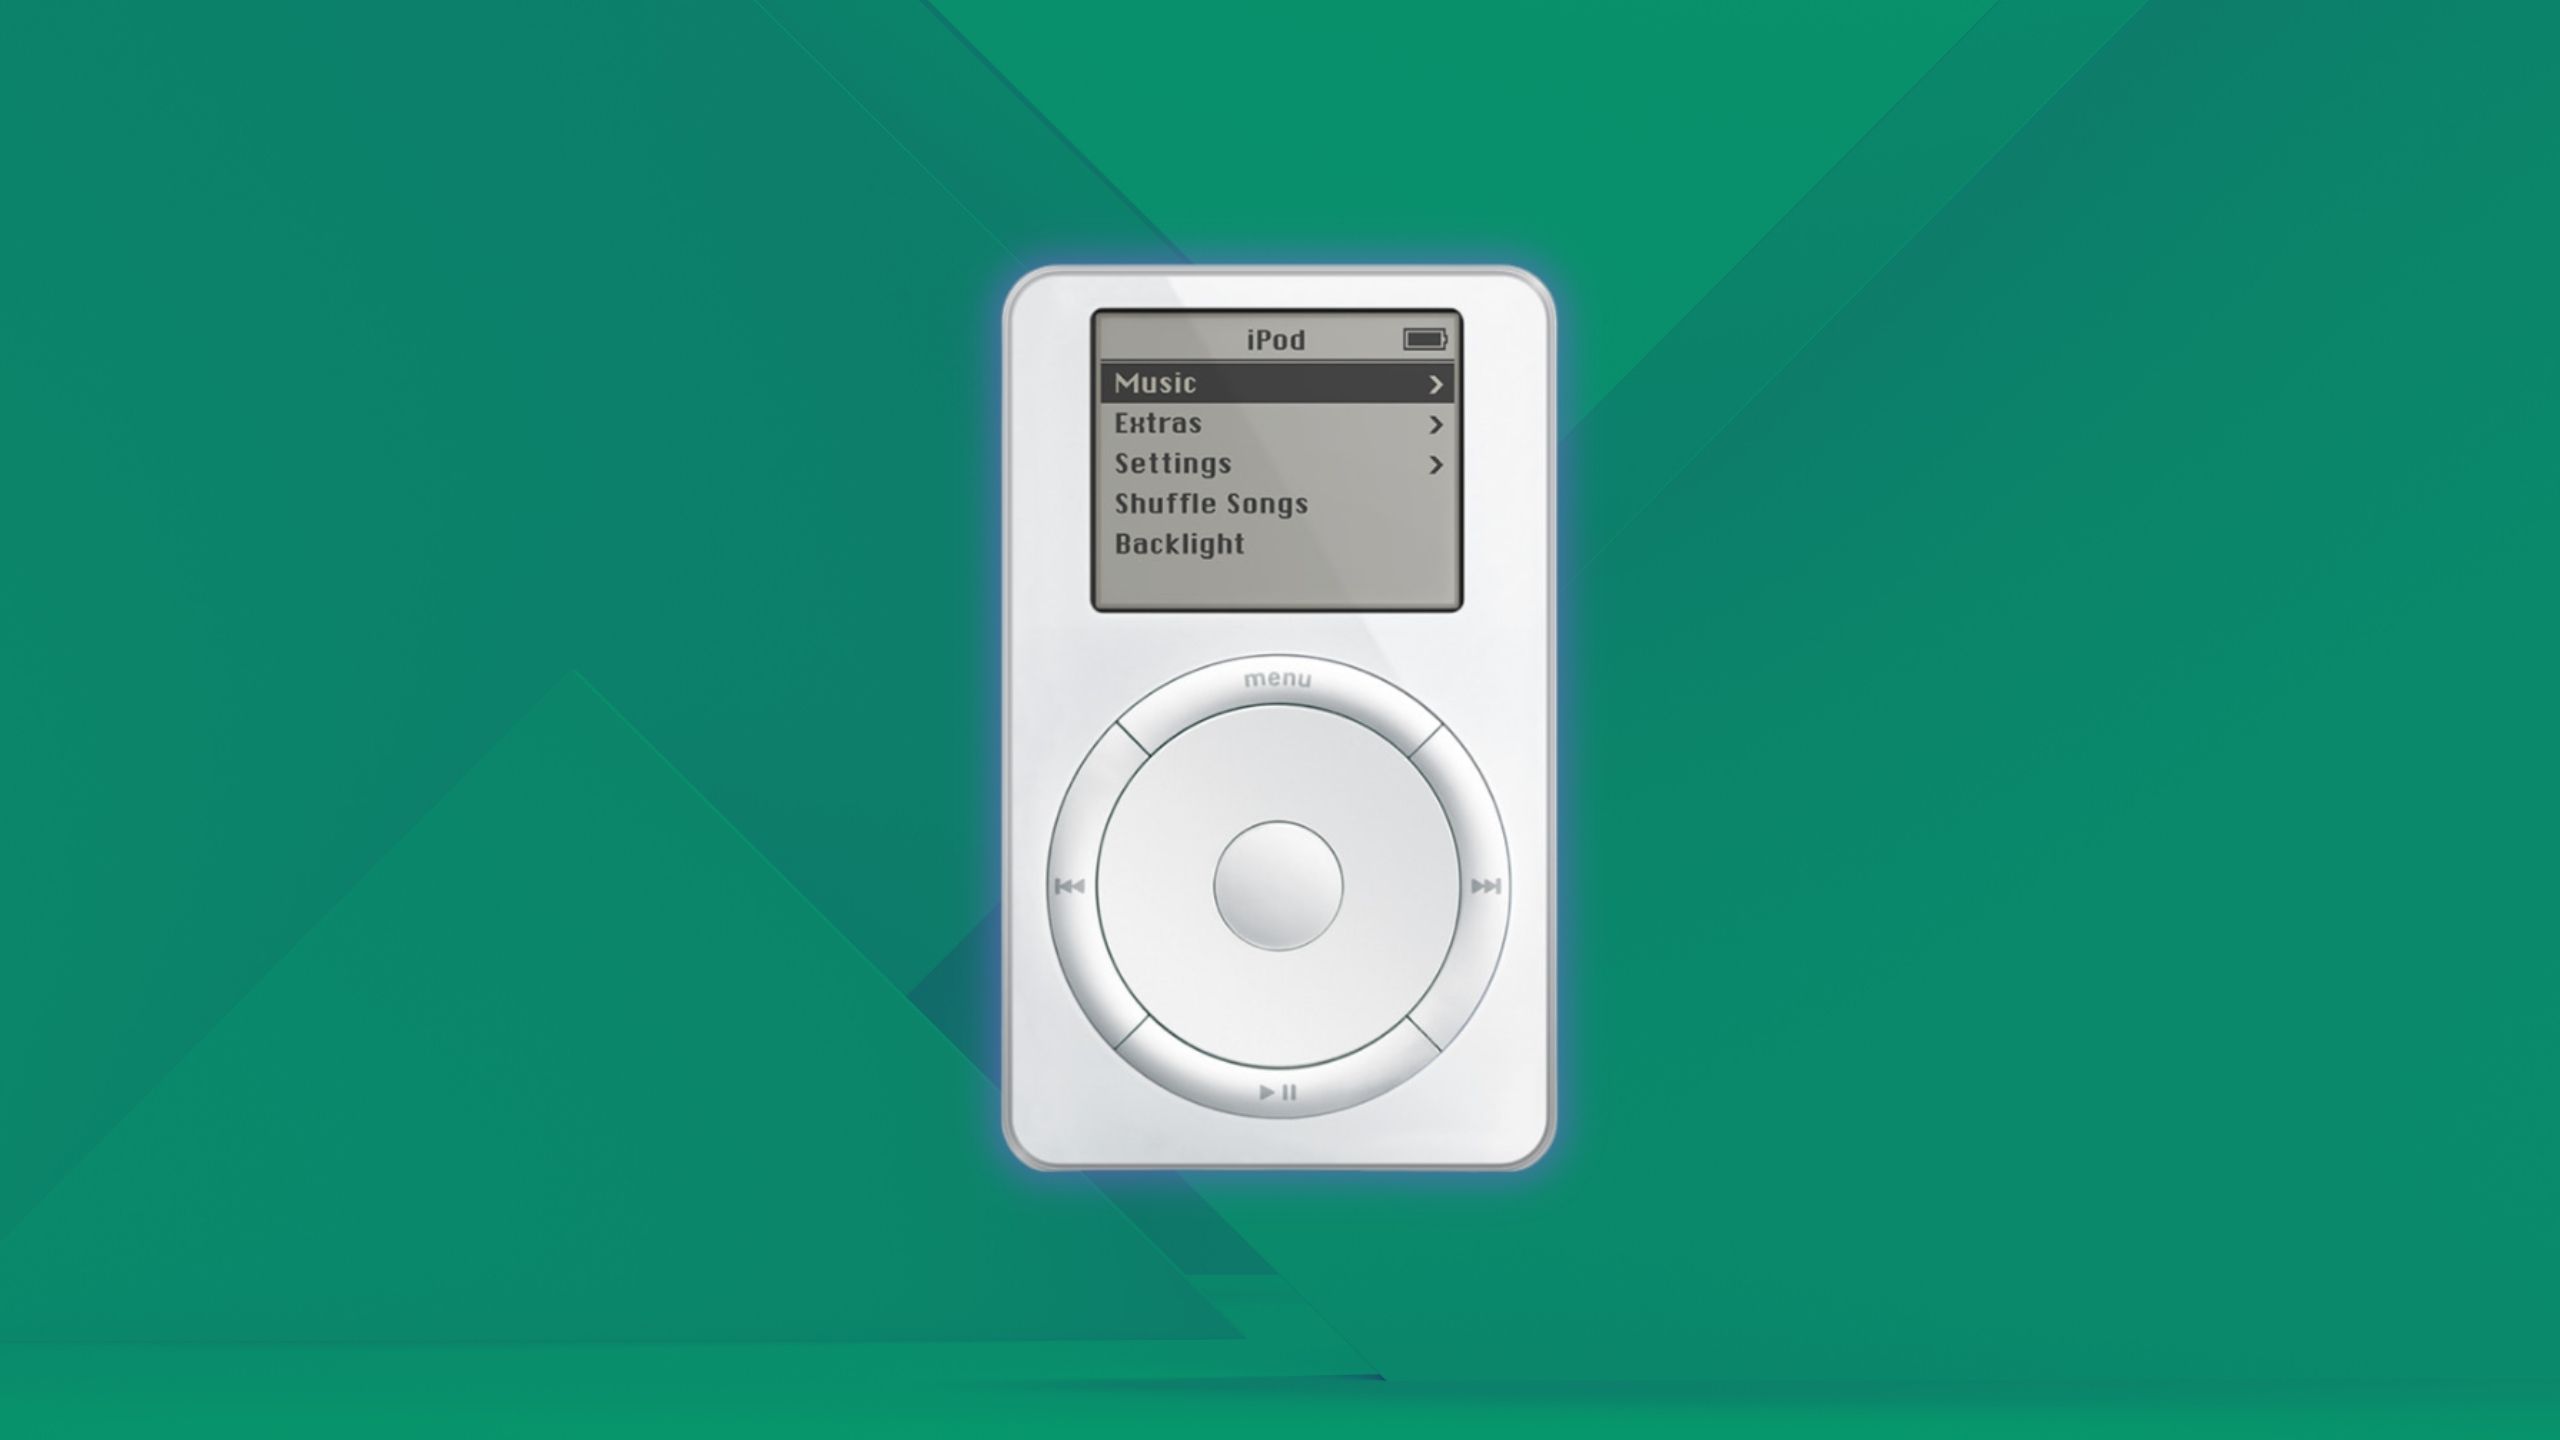
The first iPod hit the shelves way back in 2001, and the device went through several iterations, including the iPod shuffle, the iPod nano, and the iPod touch — the oddly capitalized brand names causing English teachers everywhere to tear out their hair.
Related
I bought an MP3 player in 2024, and for the first time in years, I really listened to music
Sony’s 2017 MP3 player has made for purposeful listening, and even though I’m a rookie audiophile, I think it’s a game changer.
When the iPhone arrived, it signaled the death of the iPod. Why buy a dedicated MP3 player when you already had one built into your phone? The iPod hung around for a while, but after changing the world, the final iPod was discontinued, and most of our old MP3 players got thrown away or consigned to the back of a drawer.
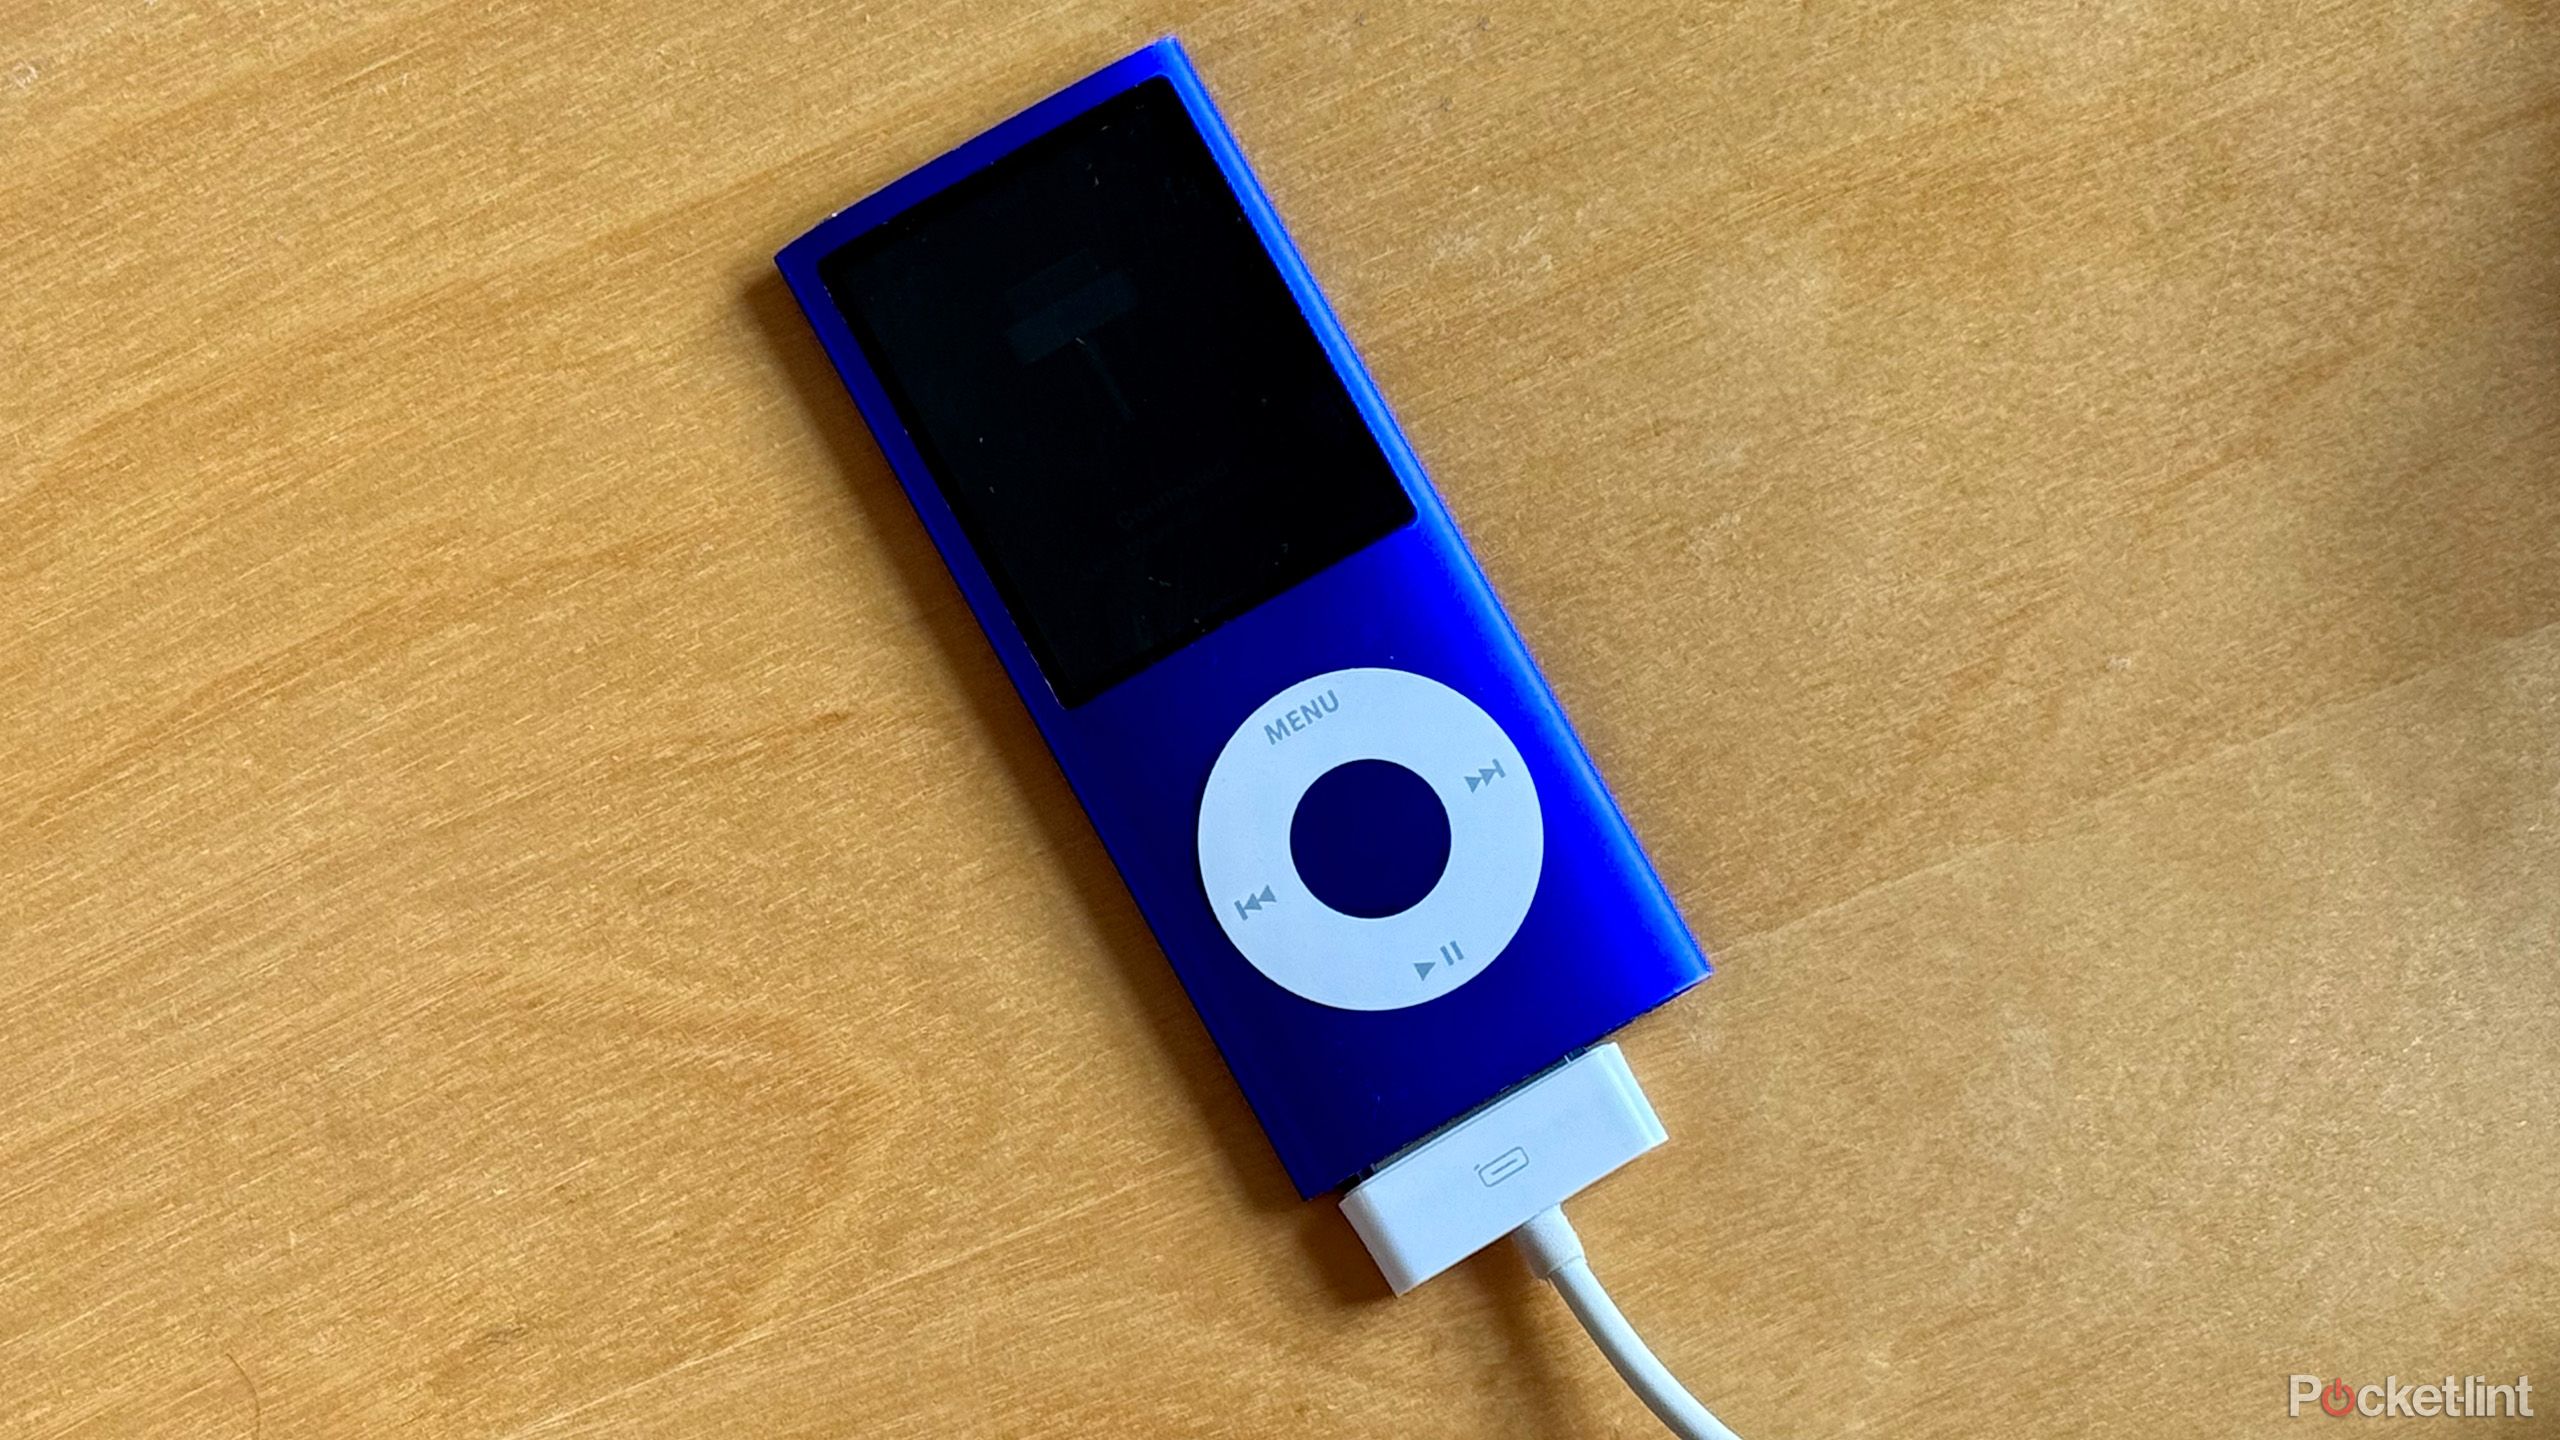
I found my old iPod nano recently and was curious to know what music was on it. Trying to get it going again was a bit of a challenge, but with a bit of research, I found that it was simple enough to do, especially using Windows. I was able to add new (legally obtained, obviously) music and even export old stuff that was still on there. Here’s how I got my old iPod back up and running and why maybe you should, too.
Related
I’m listening to CDs over vinyl these days for these 8 reasons
Vinyl records are an aesthetic all on their own, but they aren’t the only popular “retro tech” or physical audio medium.
What you’ll need to use your old iPod in 2024
Where did I put that iPod charger?
There are a few things you’ll need in order to be able to get your old iPod up and running again. You’ll need an iPod that’s in working condition. You’ll also need the relevant charging cable for your iPod. If you’ve misplaced yours, Amazon or eBay should have what you need.
You’ll also need a computer with a USB-A port (because USB-C wasn’t a thing in 2001) so you can connect your iPod to your computer using the charging cable. The final thing took me the longest to find; you’ll need some wired headphones. Bluetooth headphones weren’t a thing in 2001 either, apparently.
Related
I switched to using a Sony Walkman in 2024 for these 5 reasons
I’m happy to step away from my smartphone and embrace the simplicity of an MP3 player.
Install an old version of iTunes
Use Windows for an easier ride
The problem with using an old iPod is that it won’t work with modern apps. iTunes was always the app you needed to get music on and off your iPod, but the app no longer exists in its own right. The Music app doesn’t seem to play nicely with many older iPods. The best plan is to install an old version of iTunes, specifically iTunes 12.6.5.3. This seems to be the sweet spot for supporting a wide range of old iPod models. If it doesn’t work, you can try an older or new version of iTunes instead to see if you have more success.
How to install iTunes on Windows
Bizarrely, considering that iPods are Apple products, it’s far easier to install an older version of iTunes on Windows than on Mac. All you need to do is download and run the relevant installer, and iTunes will be installed on your PC.
- Download the relevant version of the iTunes 12.6.5.3 installer, depending on your hardware.
- Run the downloaded installer.
- Once completed, you should be able to launch the iTunes app.
How to install iTunes on Mac
Apple
If you’re on a Mac, trying to install an older version of iTunes will bring up an error message stating that the software is not supported on your system. However, it’s possible to fool macOS into thinking that the app is a newer version than it really is. This involves running an AppleScript, but it’s not as hard as it sounds.
- Download the iTunes 12.6.5.3 installer for Mac.
- Open the Script Editor app on your Mac.
- Click New Document.
- Copy and paste the following script into the top pane of the Script Editor:
set theDMG to choose file with prompt "Please select iTunes dmg file:" of type "dmg"do shell script "hdiutil mount " & quoted form of POSIX path of theDMGdo shell script "pkgutil --expand /Volumes/iTunes/Install\\ iTunes.pkg ~/tmp"do shell script "hdiutil unmount /Volumes/iTunes/"do shell script "cd ~/tmp/iTunesX.pkg; cat Payload | gunzip -dc |cpio -i; ditto ~/tmp/iTunesX.pkg/Applications/iTunes.app ~/tmp/iTunes.app;"do shell script "plutil -replace CFBundleGetInfoString -string 'iTunes 13.9.9' ~/tmp/iTunes.app/Contents/Info.plist"do shell script "plutil -replace CFBundleShortVersionString -string 13.9.9 ~/tmp/iTunes.app/Contents/Info.plist"do shell script "plutil -replace CFBundleVersion -string 13.9.9 ~/tmp/iTunes.app/Contents/Info.plist"do shell script "touch ~/tmp/iTunes.app"do shell script "ditto ~/tmp/iTunes.app /Applications/iTunes.app"do shell script "rm -r ~/tmp"
- Click the Run icon to run the script.
- When prompted, navigate to the location of the installer you downloaded in step 1.
- Once the script has finished running, you should find the iTunes app in your Applications folder.
- Run the iTunes app.
Related
How I discover and transfer music for my Walkman in 2024
Find and download music without the help of algorithms.
How to add music to an old iPod in iTunes
Get your new tunes onto your old iPod
Once you have the iTunes app up and running, it’s time to connect your iPod. You can then start adding music, creating playlists, and more.
- Plug the charging cable for your iPod into your computer.
- Plug the other end into your iPod.
- If things go well, your iPod should connect and appear in iTunes.
- If they don’t, you may see a message that you need to restore your iPod in order to use it. Click OK and then click the Restore iPod button to return your iPod to factory settings. This will delete any music already on the device.
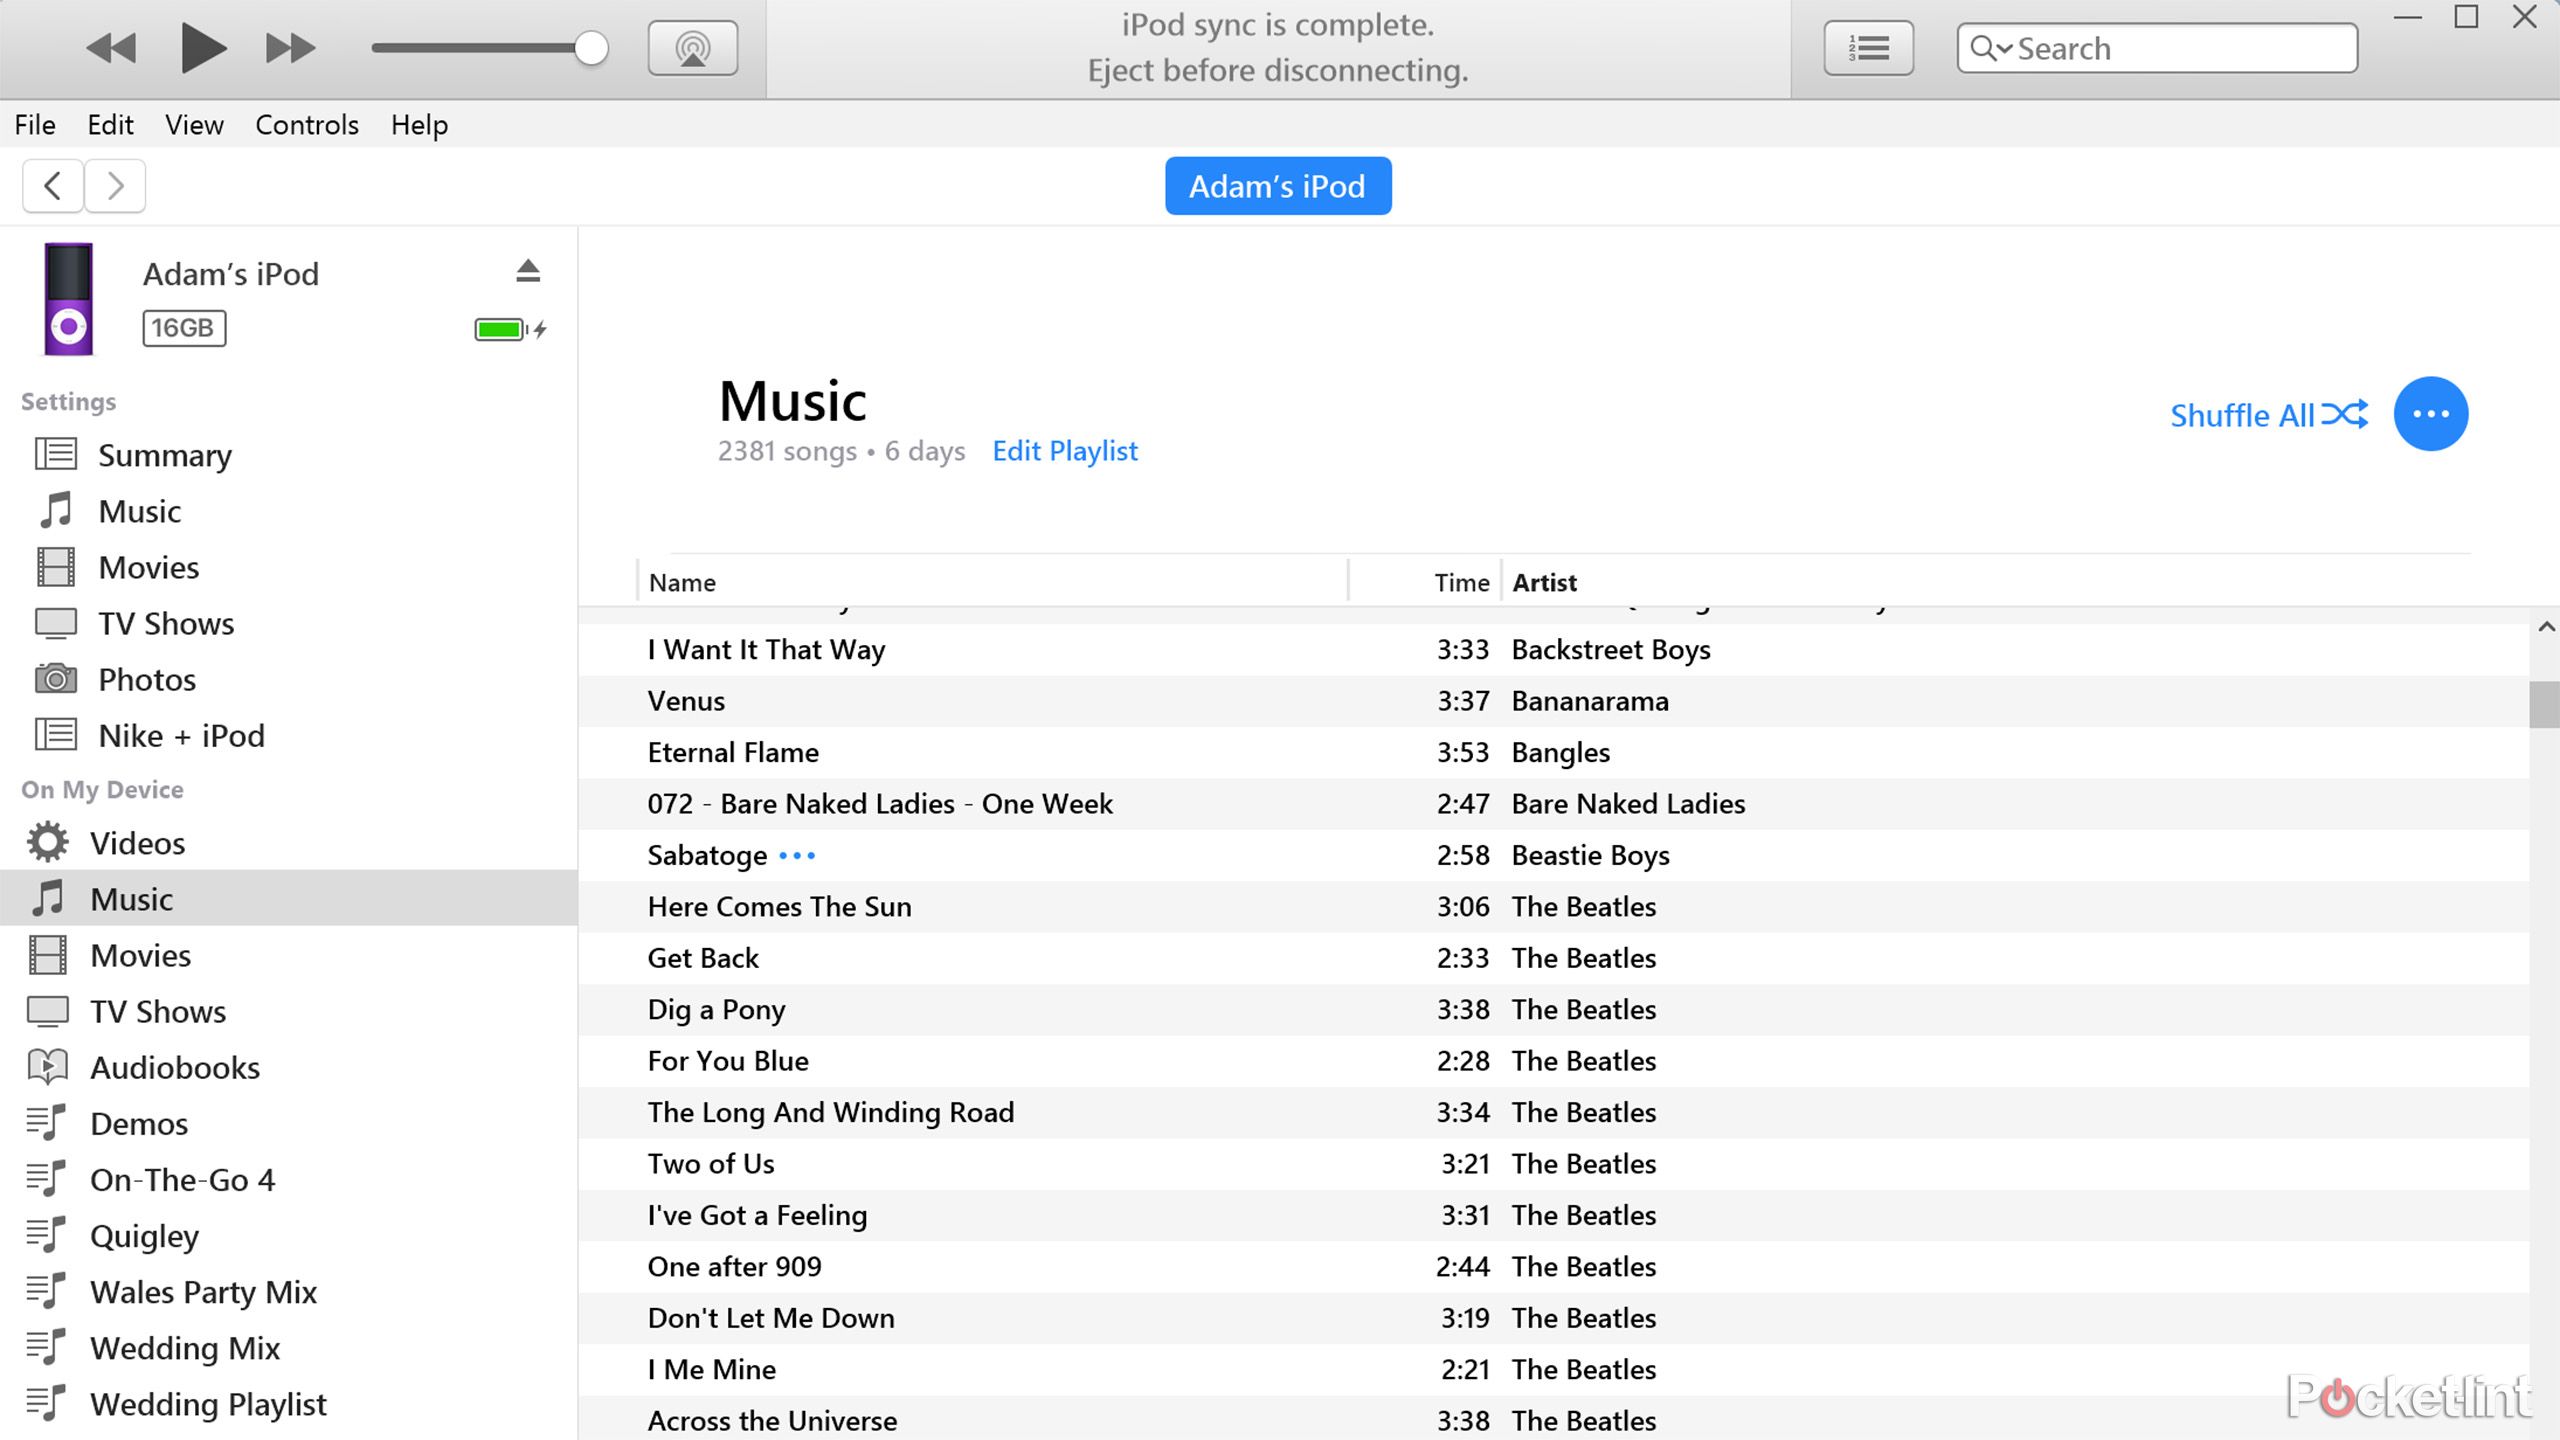
- Once your iPod appears in the left-hand menu in iTunes, click it to see what’s inside.
- Depending on the type of iPod you have, you might see folders for Music, Videos, TV Shows, Movies, Audiobooks, and more, as well as any playlists you created back in the day.
- Any music you want to keep you can leave in place. To remove music, right-click a song and select Delete from Library. You can also export music from your iPod as explained in the next section.
- When you’re ready to add new music, click File > Add File to Library to add individual songs or File > Add Folder to Library to add entire folders of music.
- Continue adding as much music as you like (or until your iPod is full).
- When you’re ready to start listening, hover over the name of your iPod in the left-hand menu and click the Eject button.
- You can now remove your iPod from the cable and start listening.
Related
Should you pay for lossless audio?
Despite what some audiophiles may say, switching streaming platforms for lossless audio might not be the best — or your only — choice.
How to get music off an old iPod
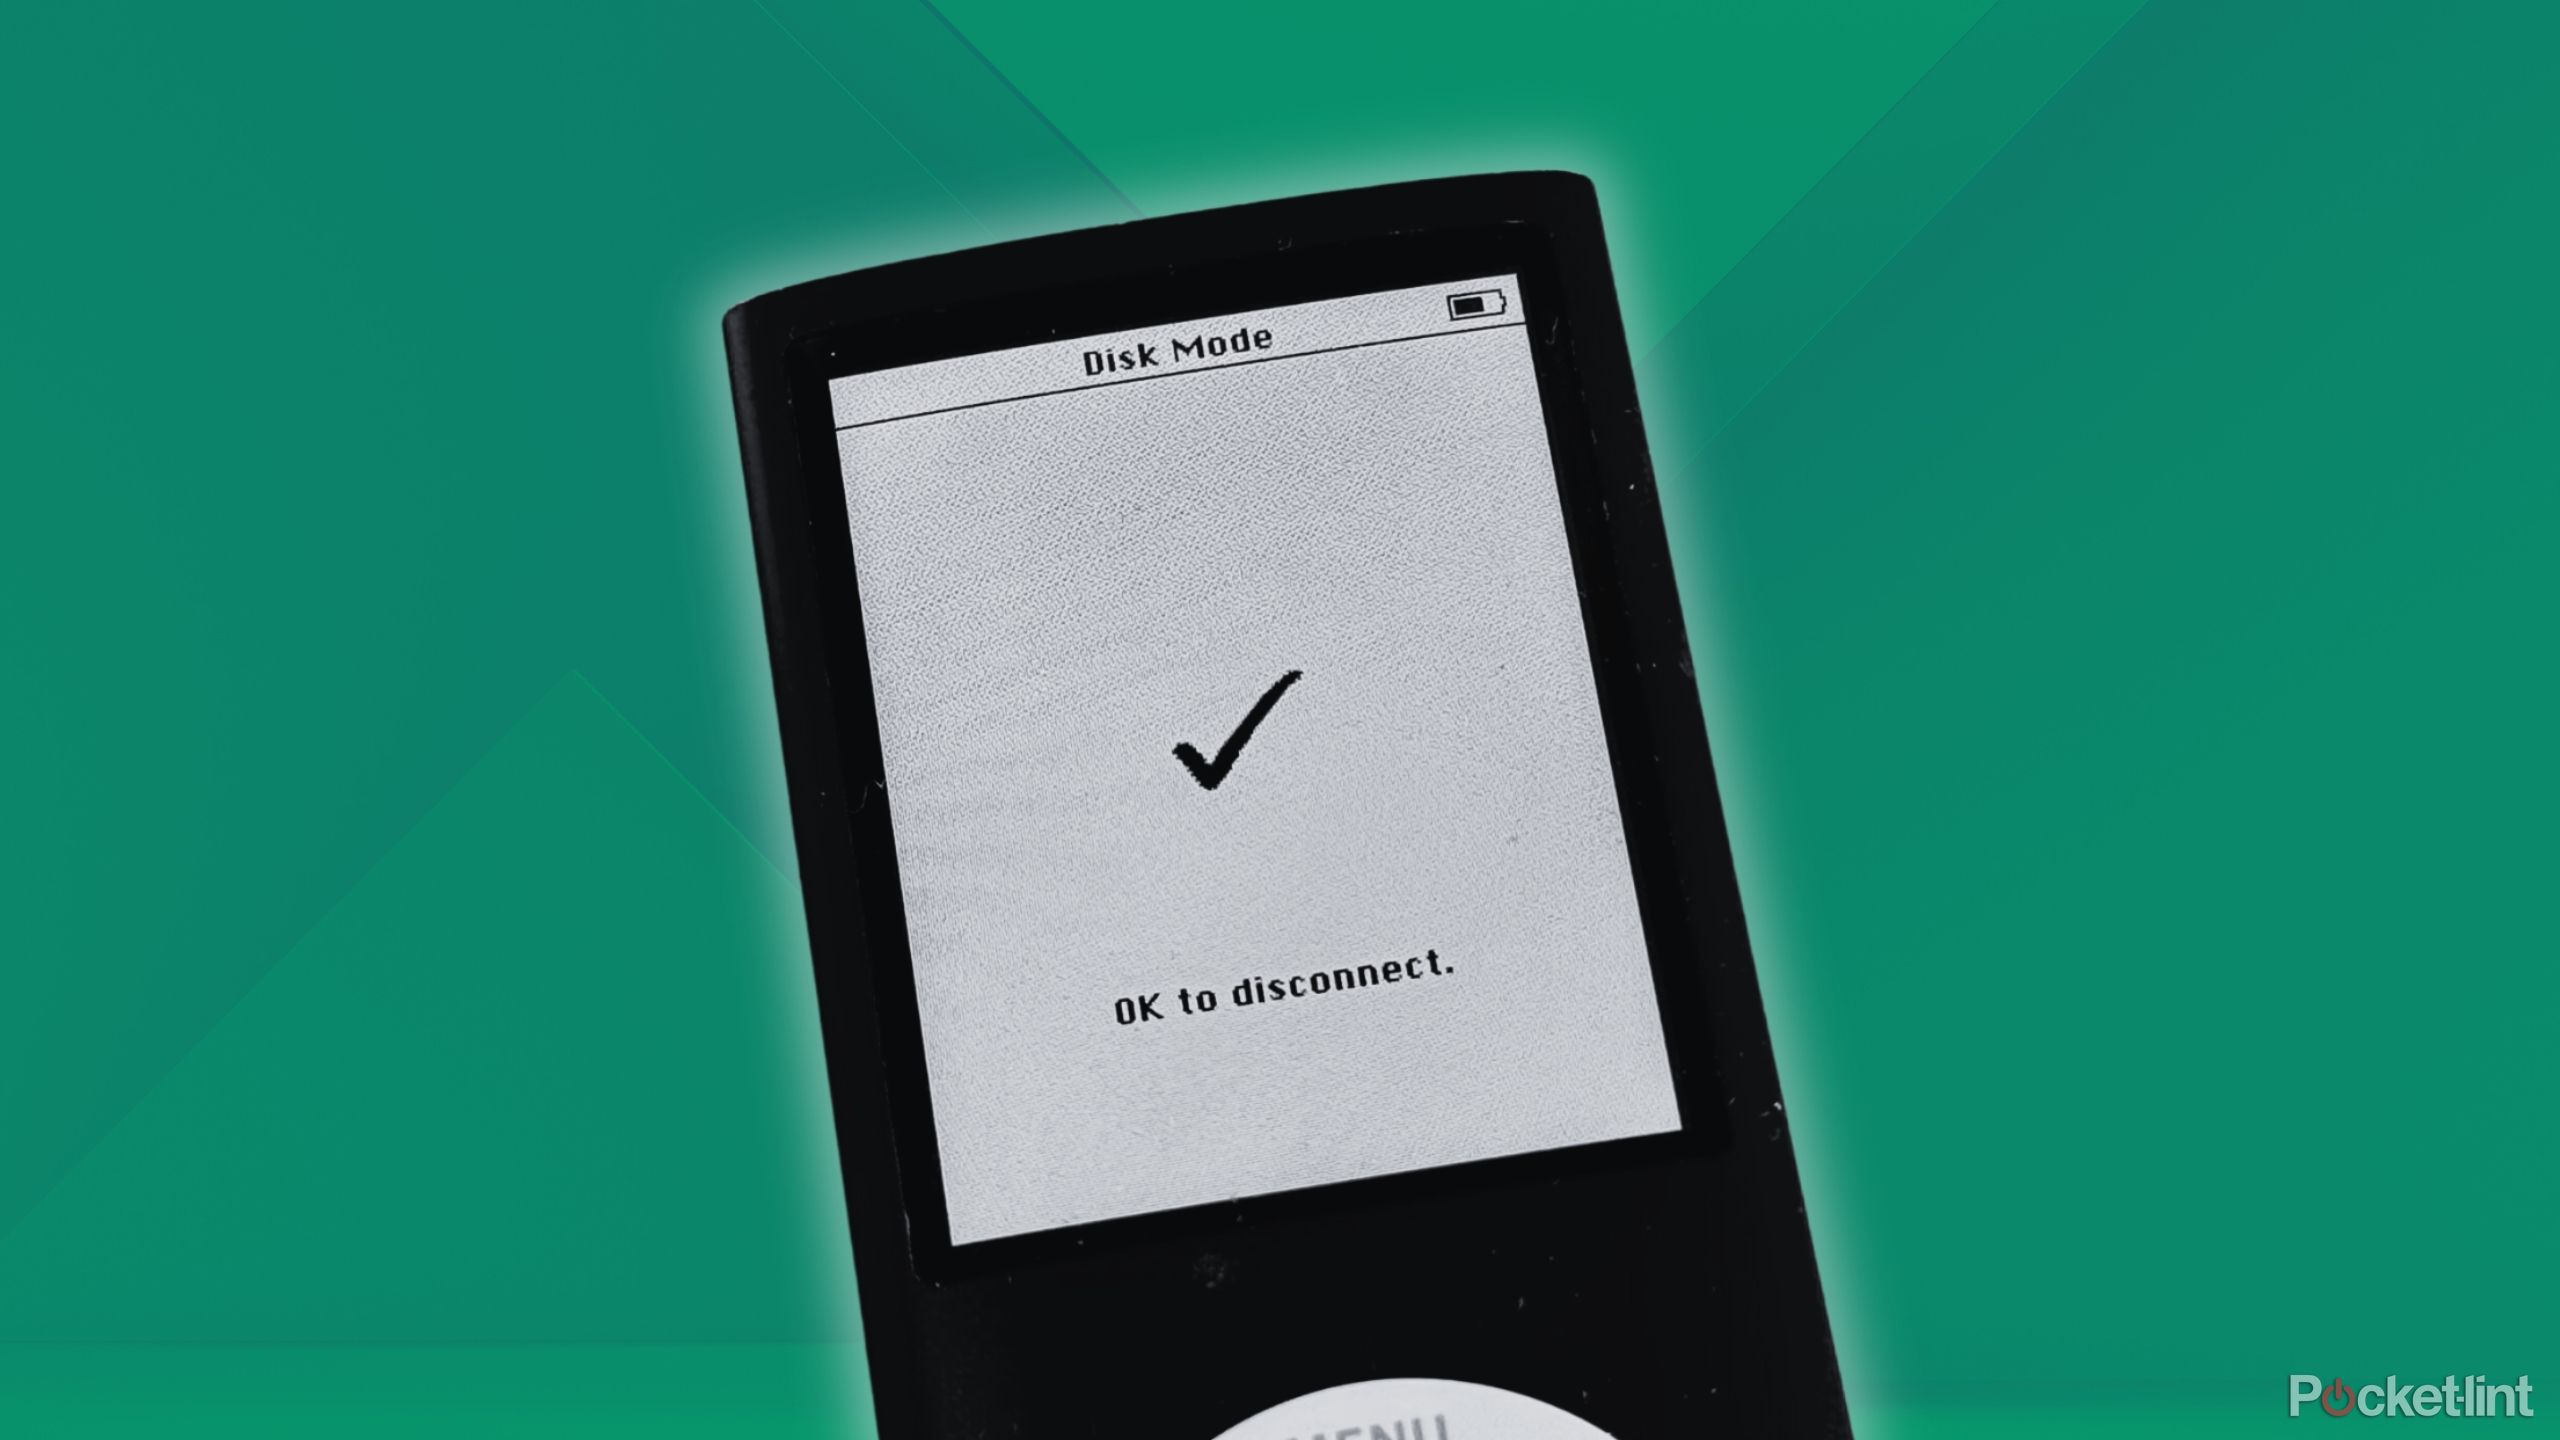
Use disk mode to turn your iPod into a hard drive
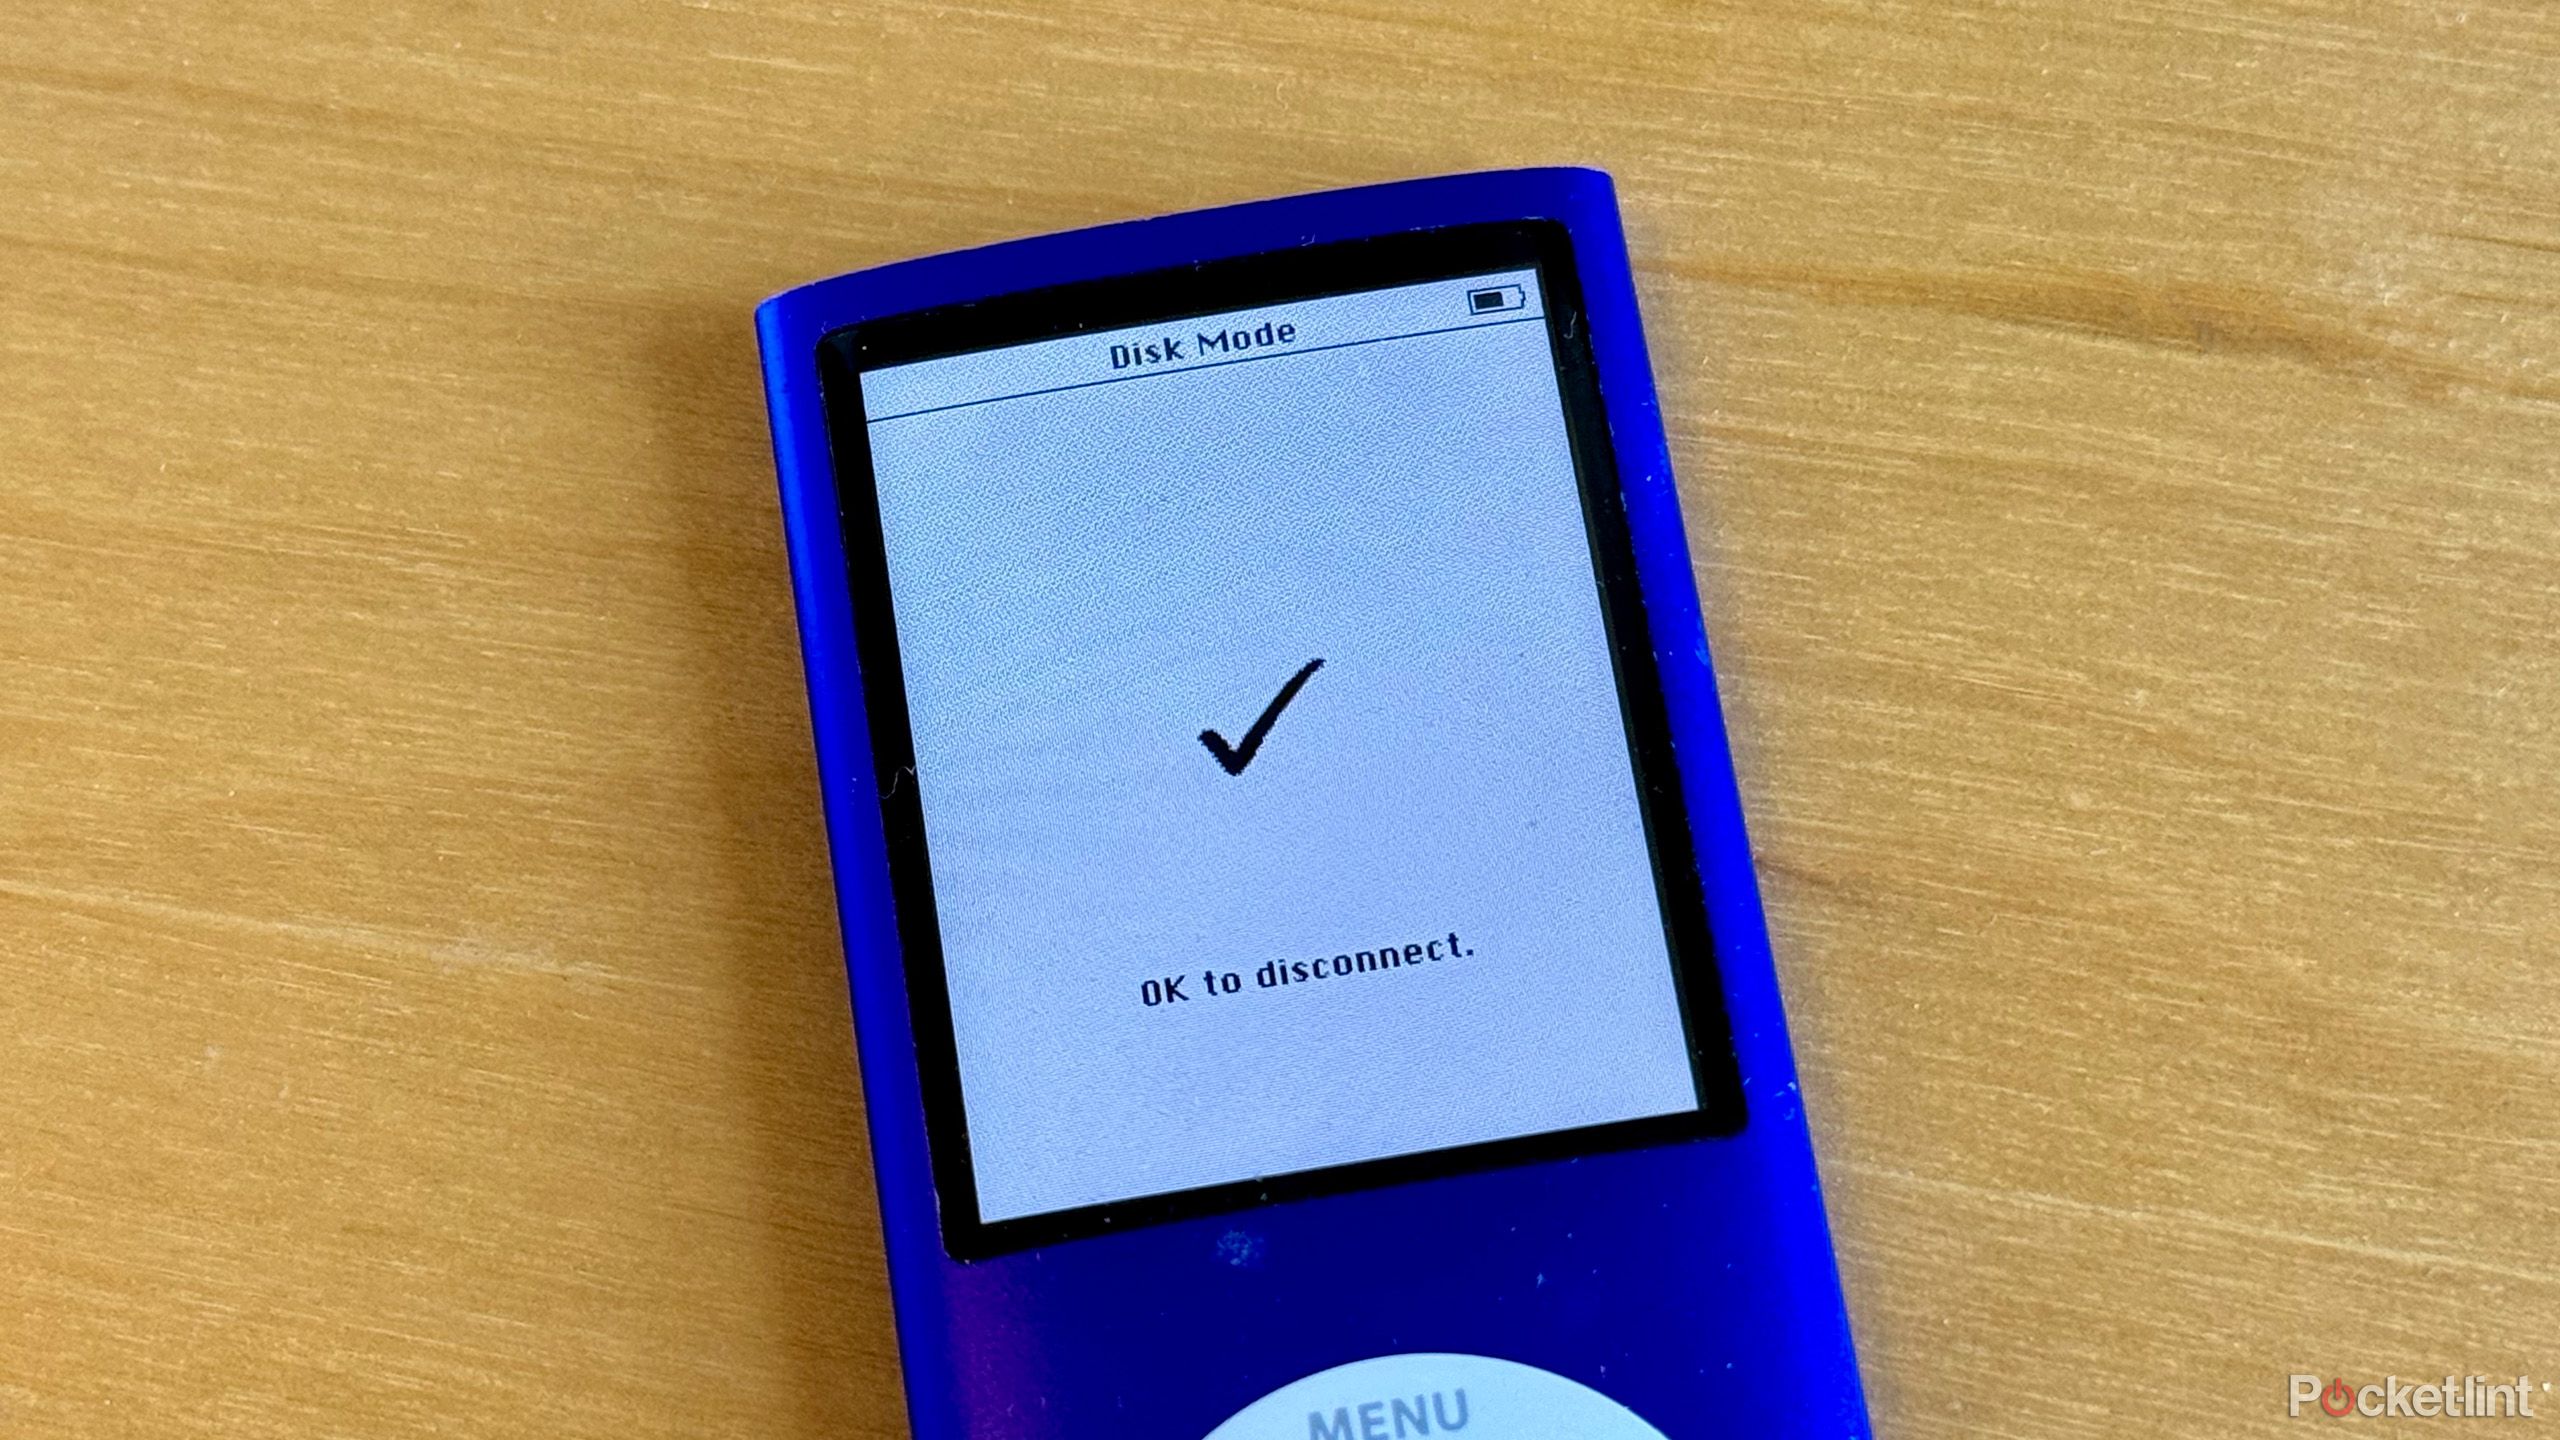
If your old iPod has songs on it that you don’t have copies of any longer, then you can extract music from your iPod by putting it in disk mode. This allows you to read the hard drive in your iPod like any removable disk, allowing you to copy your music from your iPod.
How to put an iPod with a click wheel into disk mode
If your iPod has the classic click wheel, in which the controls are on the scroll wheel itself, you can use the following steps to put your iPod into disk mode.
- Toggle the Hold switch on and off.
- Press and hold the Menu button and the Center button.
- When the Apple logo appears on your iPod screen, press and hold the Play/Pause button and the Center button.
- The screen should show that it is in disk mode.
- If it doesn’t, repeat the steps again.
Try pressing further toward the outer edge of the
Menu
and
Play/Pause
buttons if you can’t get these steps to work.
Related
If you’re new to turntables, here are 4 essentials to any beginner’s setup
As a vinyl enthusiast, these are the 4 accessories you’ll want in your beginner vinyl set-up base on my ears.
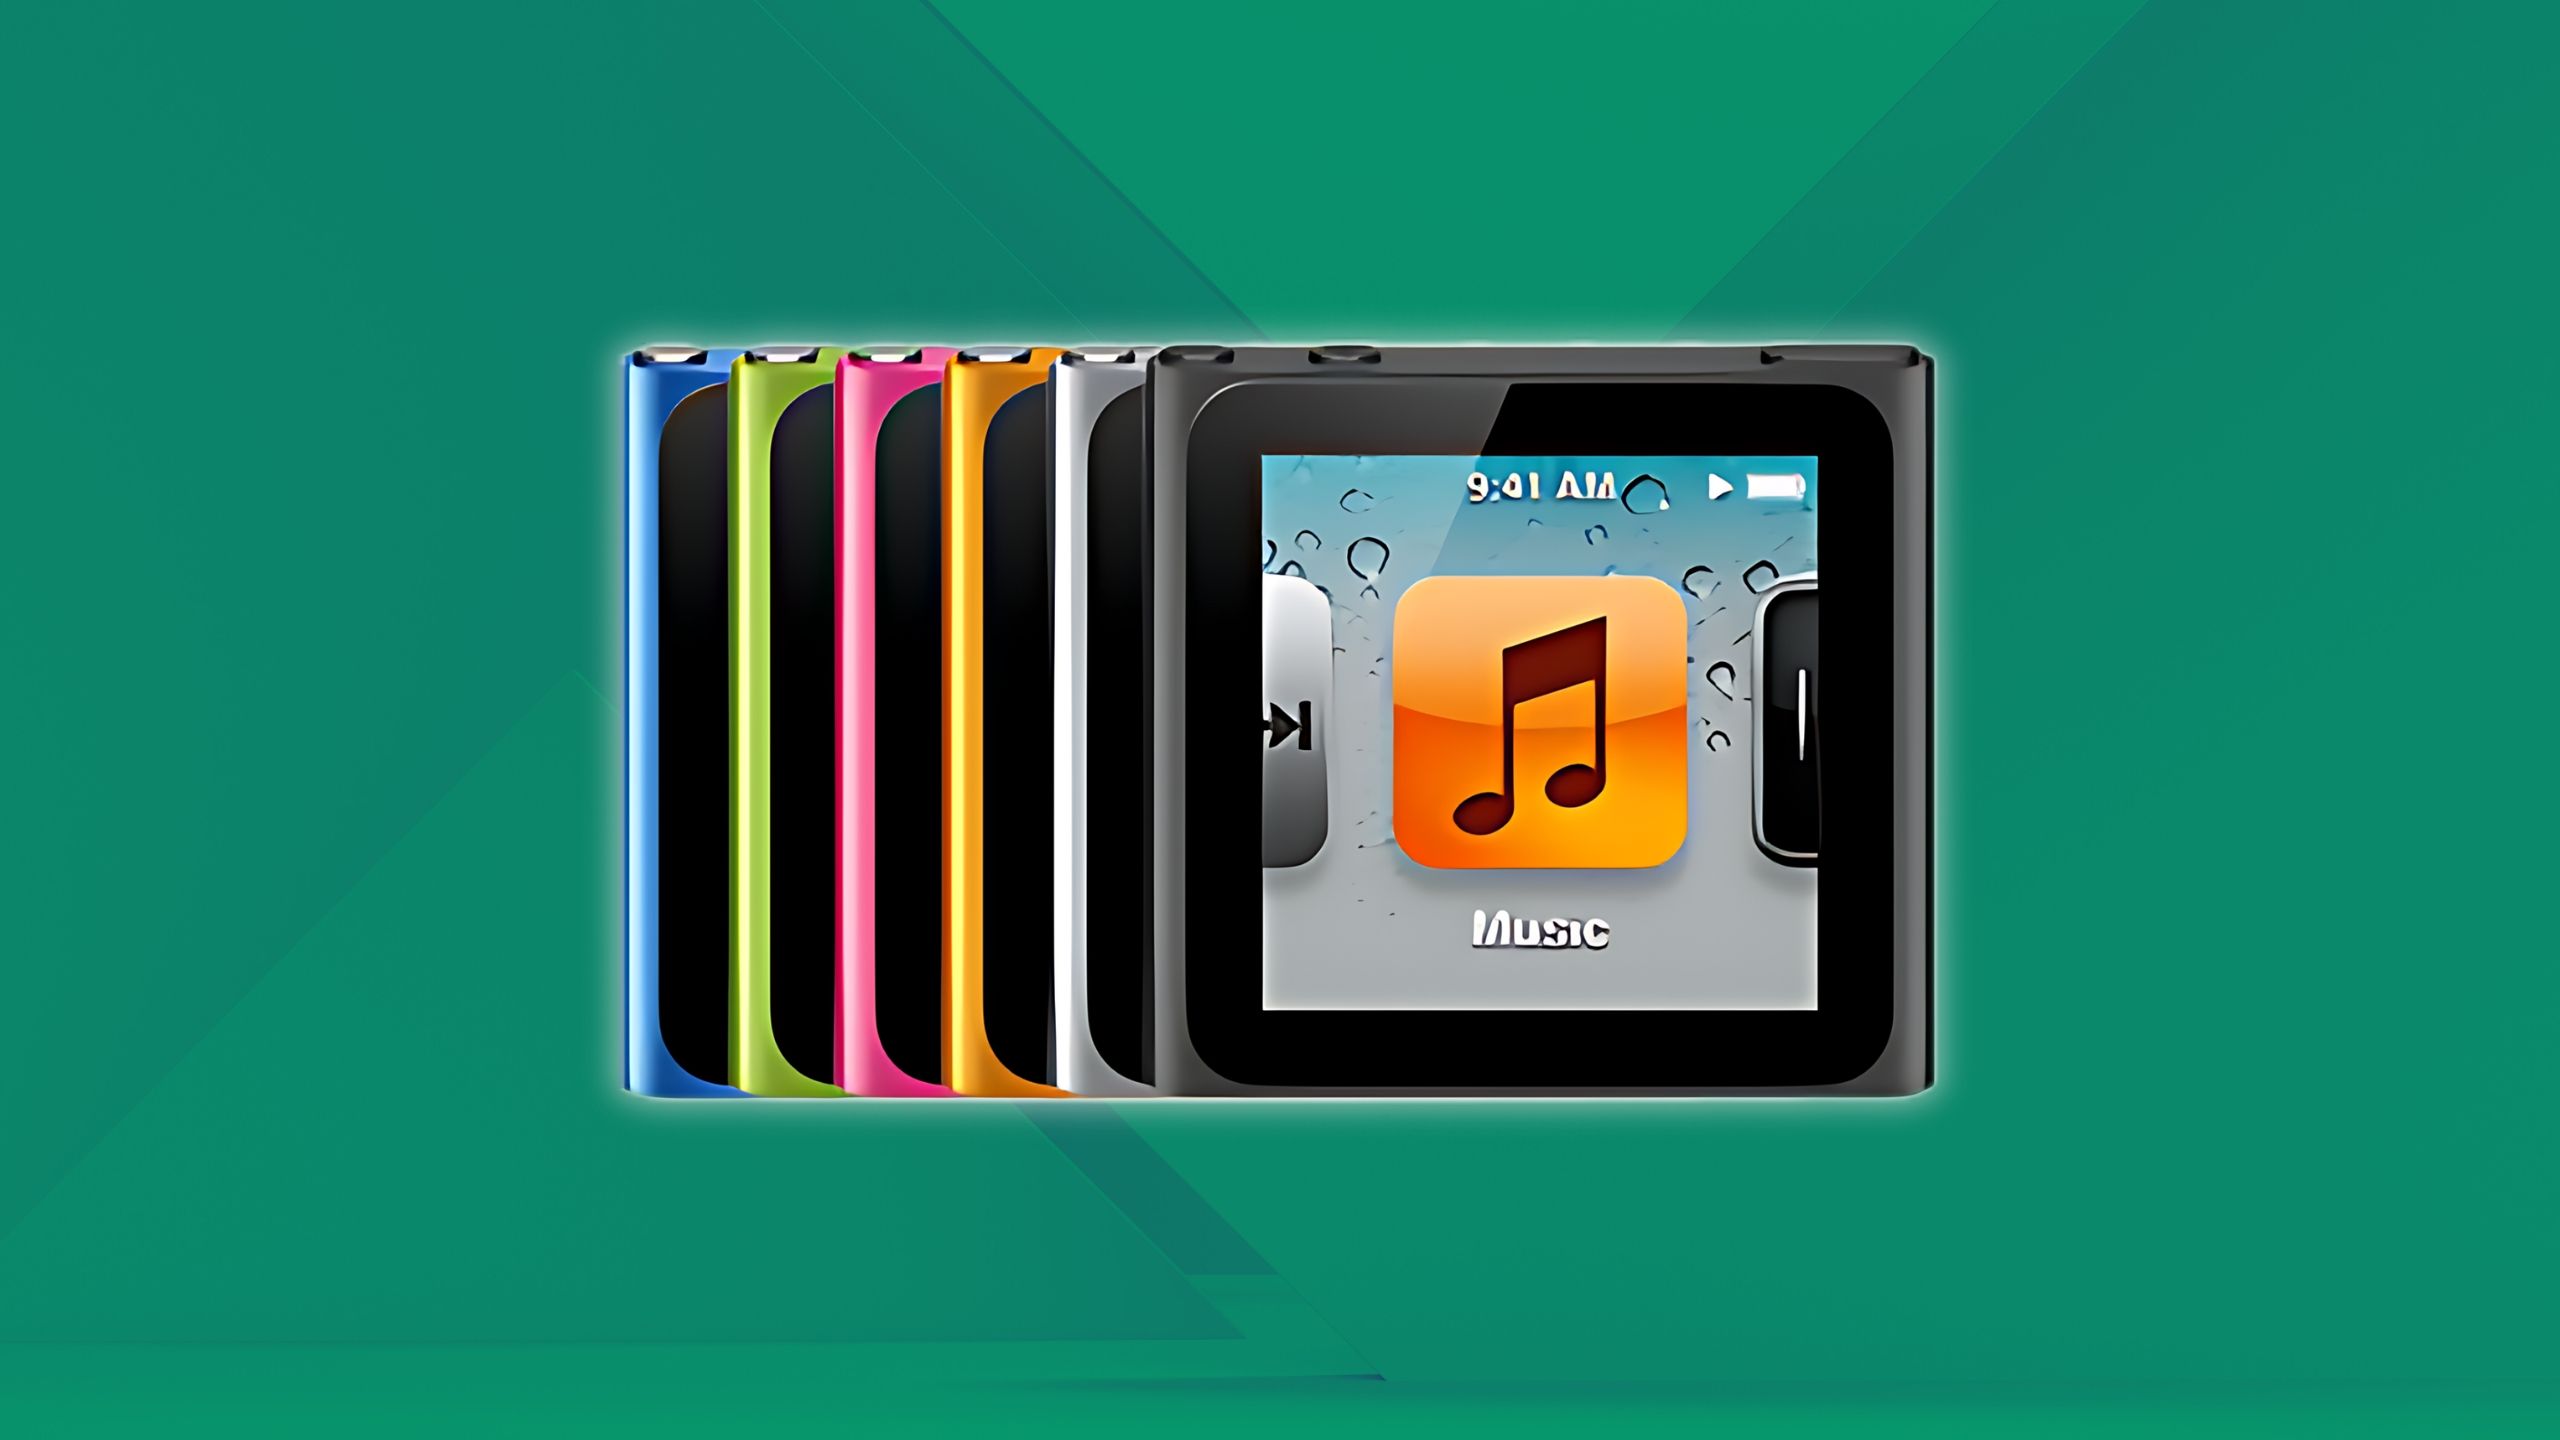
How to put an iPod nano (6th or 7th gen) into disk mode
Apple / Pocket-lint
The later models of iPod nano didn’t include the iconic scroll wheel. If you have one of these models, you’ll use the following method to put your iPod into disk mode.
- For the 6th gen iPod nano, press and hold the Sleep/Wake button and the Volume Down button.
- For the 7th gen iPod nano, press and hold the Sleep/Wake button and the Home button.
- When the Apple logo appears, press and hold the Volume Up button and the Volume Down button.
- Your iPod should enter disk mode.
- If it doesn’t, repeat the steps again.
0:32
Related
I swapped streaming for a Sony Walkman E394, and it took me back to simpler times
These days, most devices do everything. But the Walkman E394 I just tried is dedicated to only one thing: simplicity.
How to put an iPod with a touch or scroll wheel into disk mode
Apple / Pocket-lint
If you’re really old school, you’re rocking an iPod with a scroll wheel that has separate buttons either around it or above it. In this case, you’ll need to use the following steps to put your iPod into disk mode.
- Toggle the Hold switch on and off.
- Press and hold the Menu button and Play/Pause button.
- When you see the Apple logo, press and hold the Previous button and the Next button.
- Your iPod should enter disk mode.

Related
These are the 3 reasons why I exclusively use bone conduction headphones for running
As a runner, I only use bone conduction headphones. Here’s why.
Once your iPod is in disk mode, you can copy files directly from your iPod’s hard drive. This will be visible in File Explorer or Finder on your computer, although you may need to make hidden files visible in order to see your music.
- Open File Explorer on Windows or Finder on Mac.
- Select your iPod from the removable devices in the left-hand pane.
- Open the folder called iPod_Control.
- If you can’t see this folder on Windows, click View > Show > Hidden Items.
- If you can’t see this folder on Mac, press Cmd+Shift+Period to make hidden files and folders visible.
- Inside the iPod_Control folder, select Music.
- You’ll see a list of folders.
- You can now copy these folders to any location on your computer you wish.
- Alternatively, open the folders to see the individual files. You can copy whichever files you wish to export.
The downside to this method is that these files are given weird four-character names and aren’t always stored in an obvious manner, so it may take a while to figure out which files are which. There are third-party apps that can extract songs from your iPod, so you might want to try one of these if you have a lot of music you want to get off your iPod.
Related
I’m listening to CDs instead of streaming for these 5 reasons
While I’m not writing off streaming entirely, I’m definitely preferring CDs these days.
Escape distractions with your old iPod
No interruptions, just you and the music
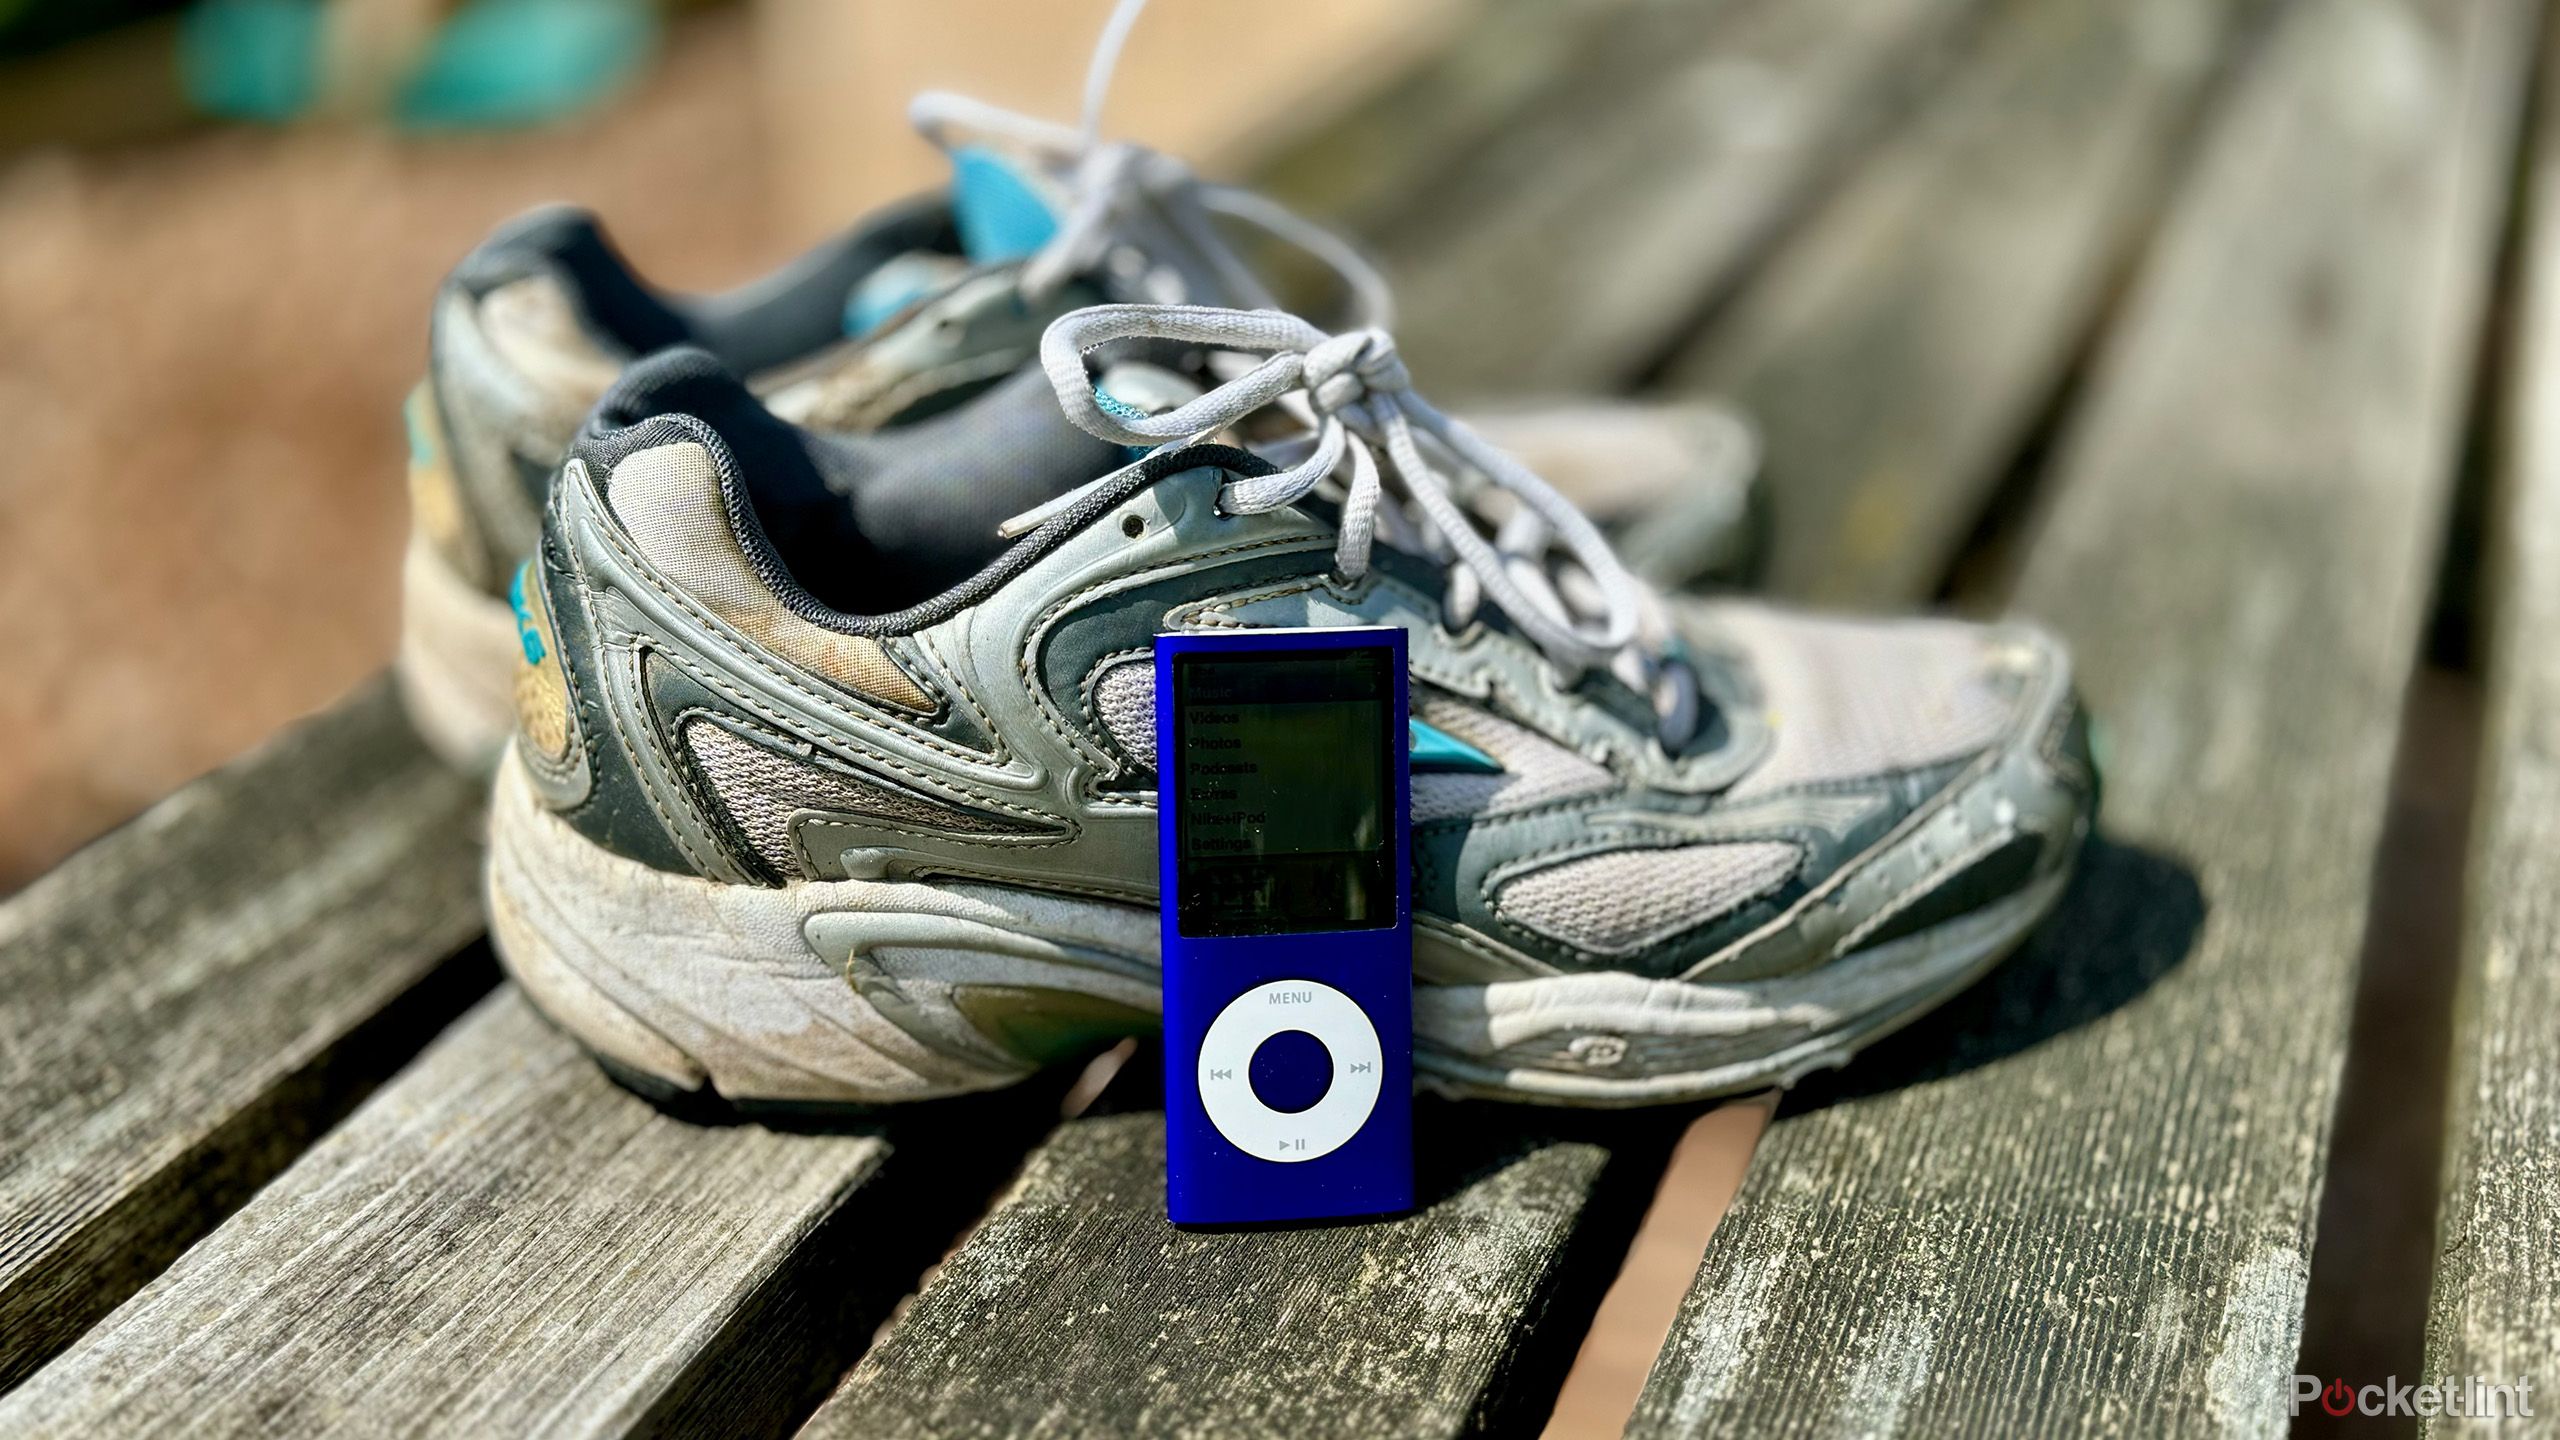
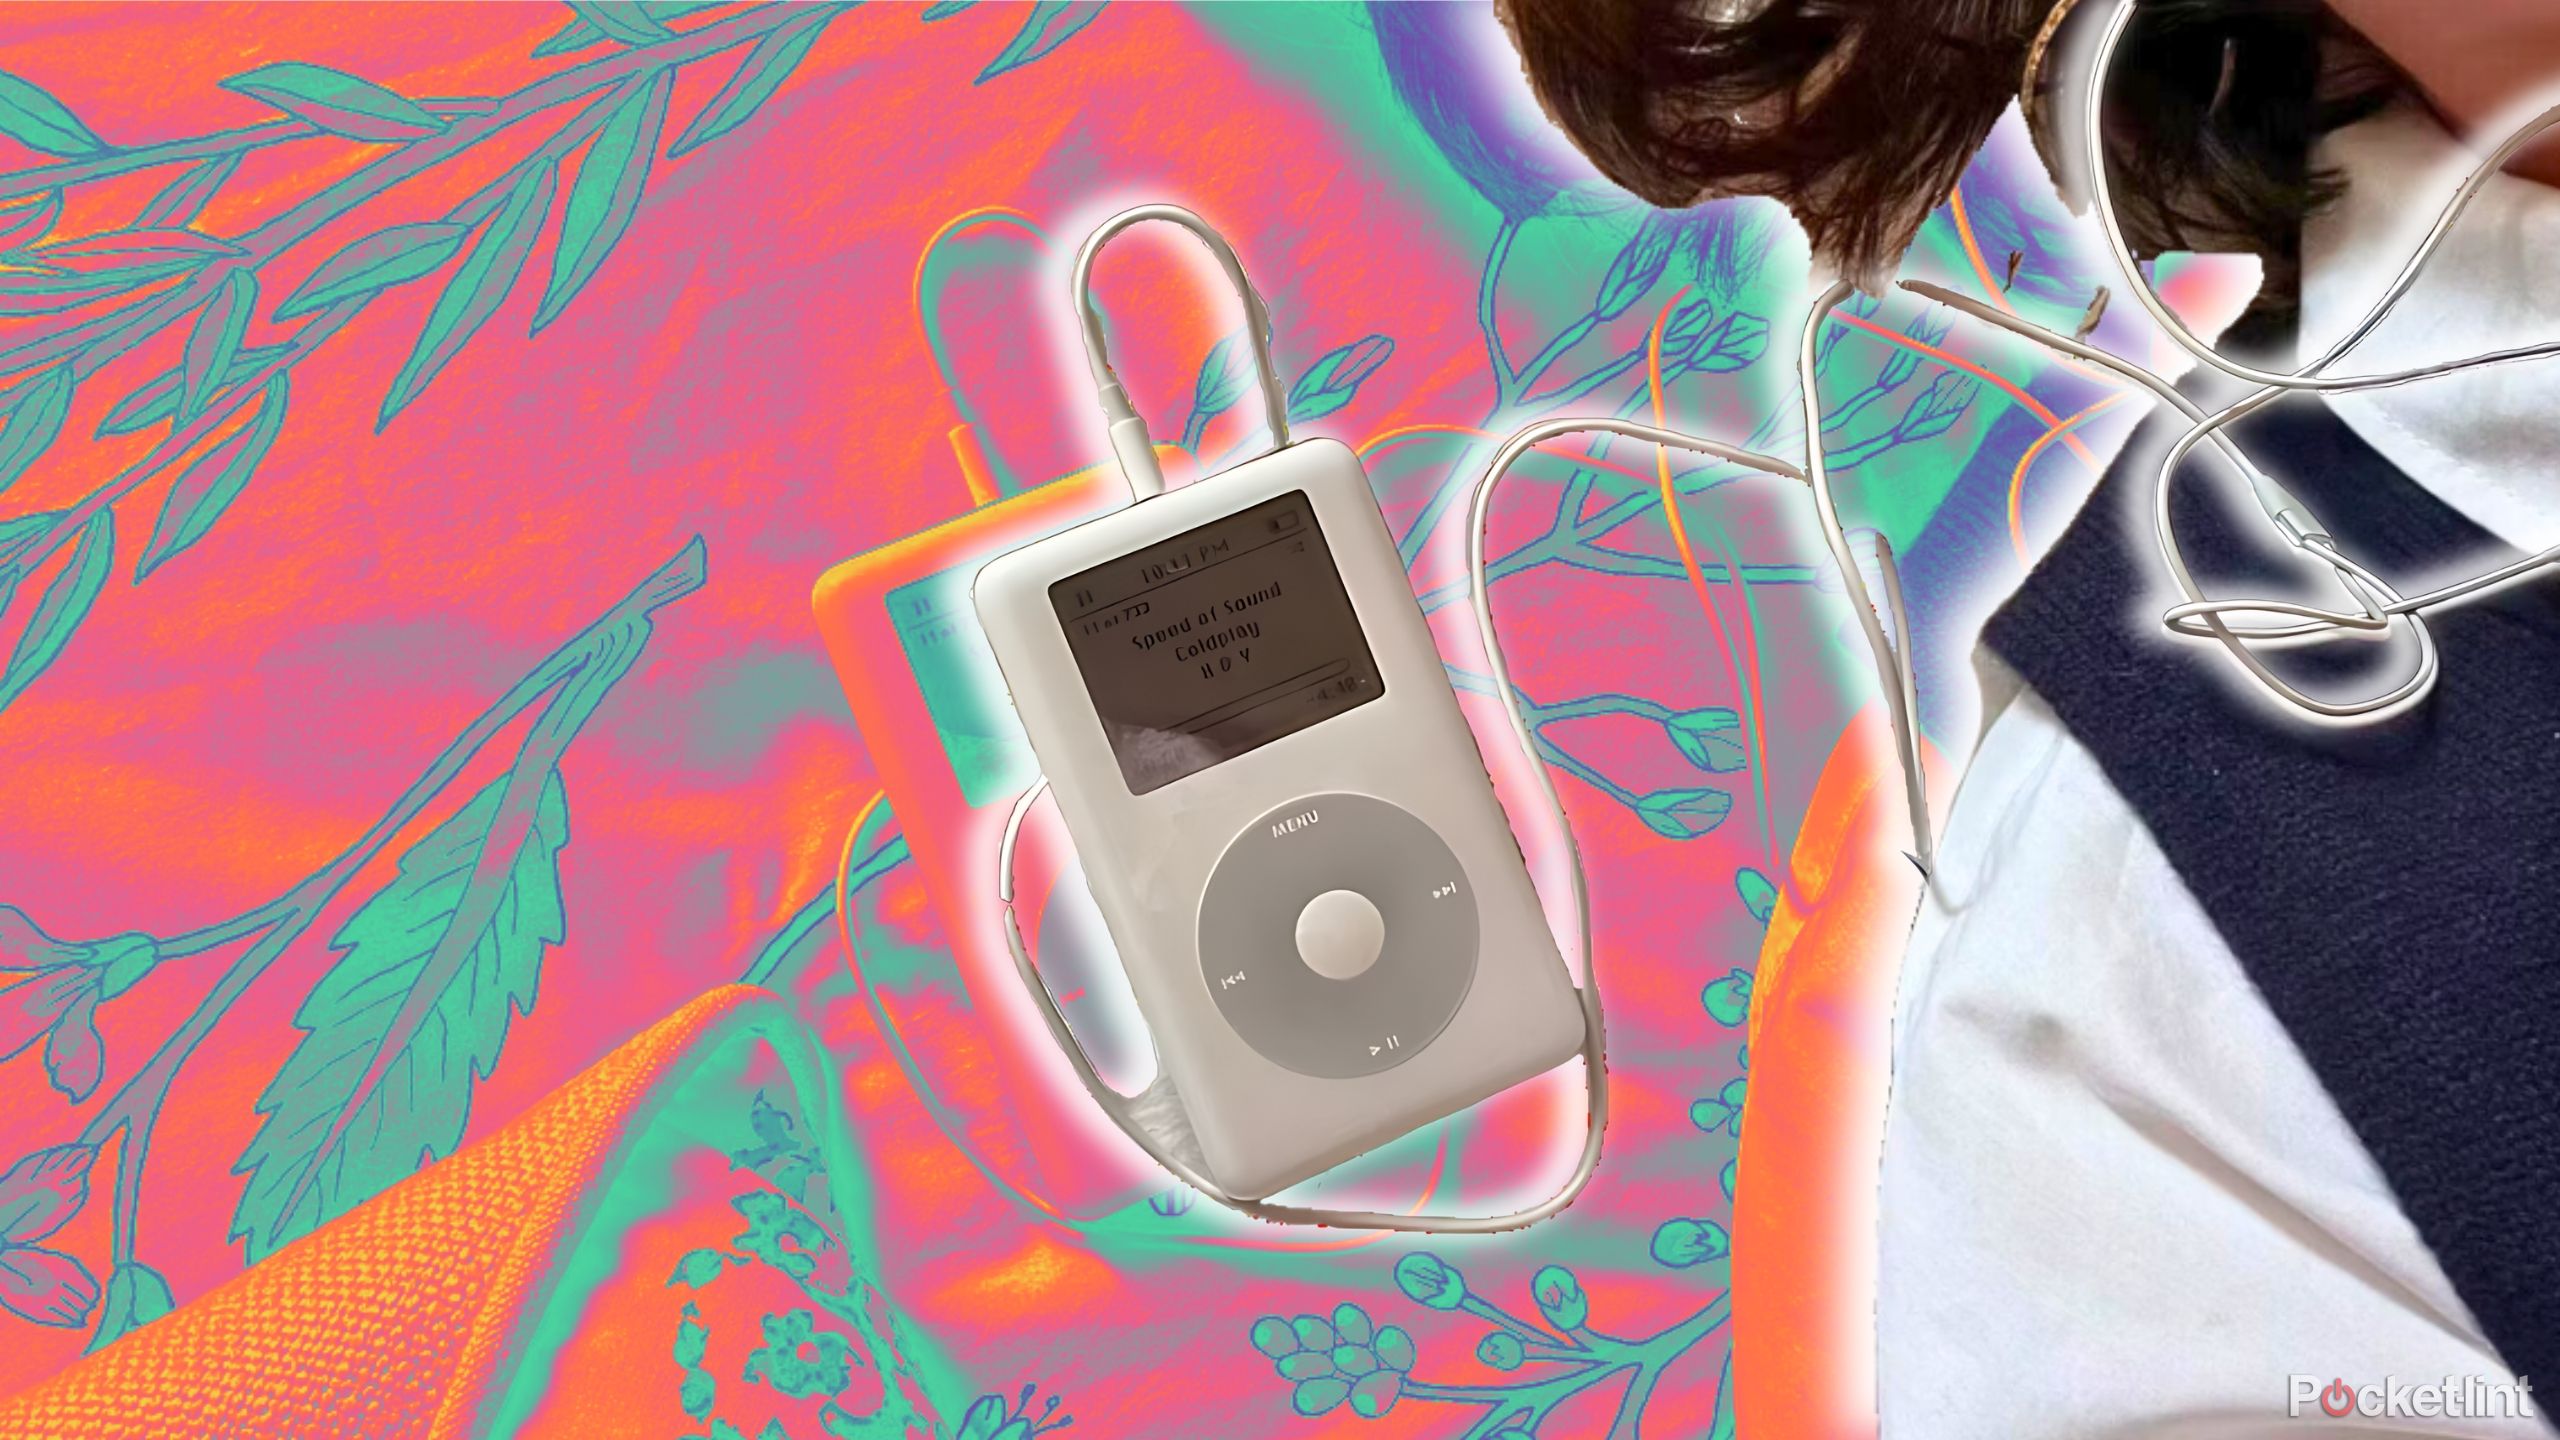
If you have a phone and an app such as Spotify or Apple Music, you already have access to millions of songs, so why would you bother using your old iPod? Well, there’s something very calming about being able to listen to music without worrying about notifications popping up on your phone or getting the urge to quickly scroll through Reddit.
Related
Why using my old iPod wasn’t the simple listening hack I imagined
Retro tech is in, so I broke out my old iPod and I’m thinking it’s a more of a temporary moment rather than a full comeback.
An old-school MP3 player lets you focus purely on the music for a little while, and it’s also a great way to stop yourself from trying to listen to all the music that exists. You have a limited number of songs to choose from, so you might get to know some of your favorite songs or albums a lot better, or give yourself a chance to finally understand why the rest of the world seems so obsessed with Taylor Swift’s discography. Why not crack out your old iPod and give it a try?
Trending Products

