Key Takeaways
- Transfer data first — use iCloud, computer backup, or get it directly from another device.
- Setup Touch ID or Face ID: Enhance both security and convenience when it comes to accessibility.
- Check for software updates: Make sure your iPadOS is up-to-date for new features and security.
Suppose you recently bought or received a brand-new iPad. Congratulations — getting new tech is always exciting. I still love my recently acquired iPad Pro. Still, underneath all that excitement, knowing where to start when setting up your new iPad can be daunting. To help you, here’s a list of eight things I recommend everyone do when they’re setting up a new iPad.
1 Transfer your data
The best place to start
First and foremost, when setting up a new iPad, I recommend transferring the data from your previous device if you have one. If you don’t have an existing iPad, you can optionally transfer content from an iPhone or Android device. During your iPad’s initial setup up, Apple provides you with four ways to transfer data: iCloud backup, computer backup, directly from another iPad, or from an Android device. As a support article, Apple has instructions on its transfer methods. Remember that if you’ve already set up your iPad, you’ll need to erase it before restoring from any of these options, as they can only be done before exiting the setup assistant.
Setting up as new is also a fine choice.
2 Set up Touch ID or Face ID
It’s secure and convenient
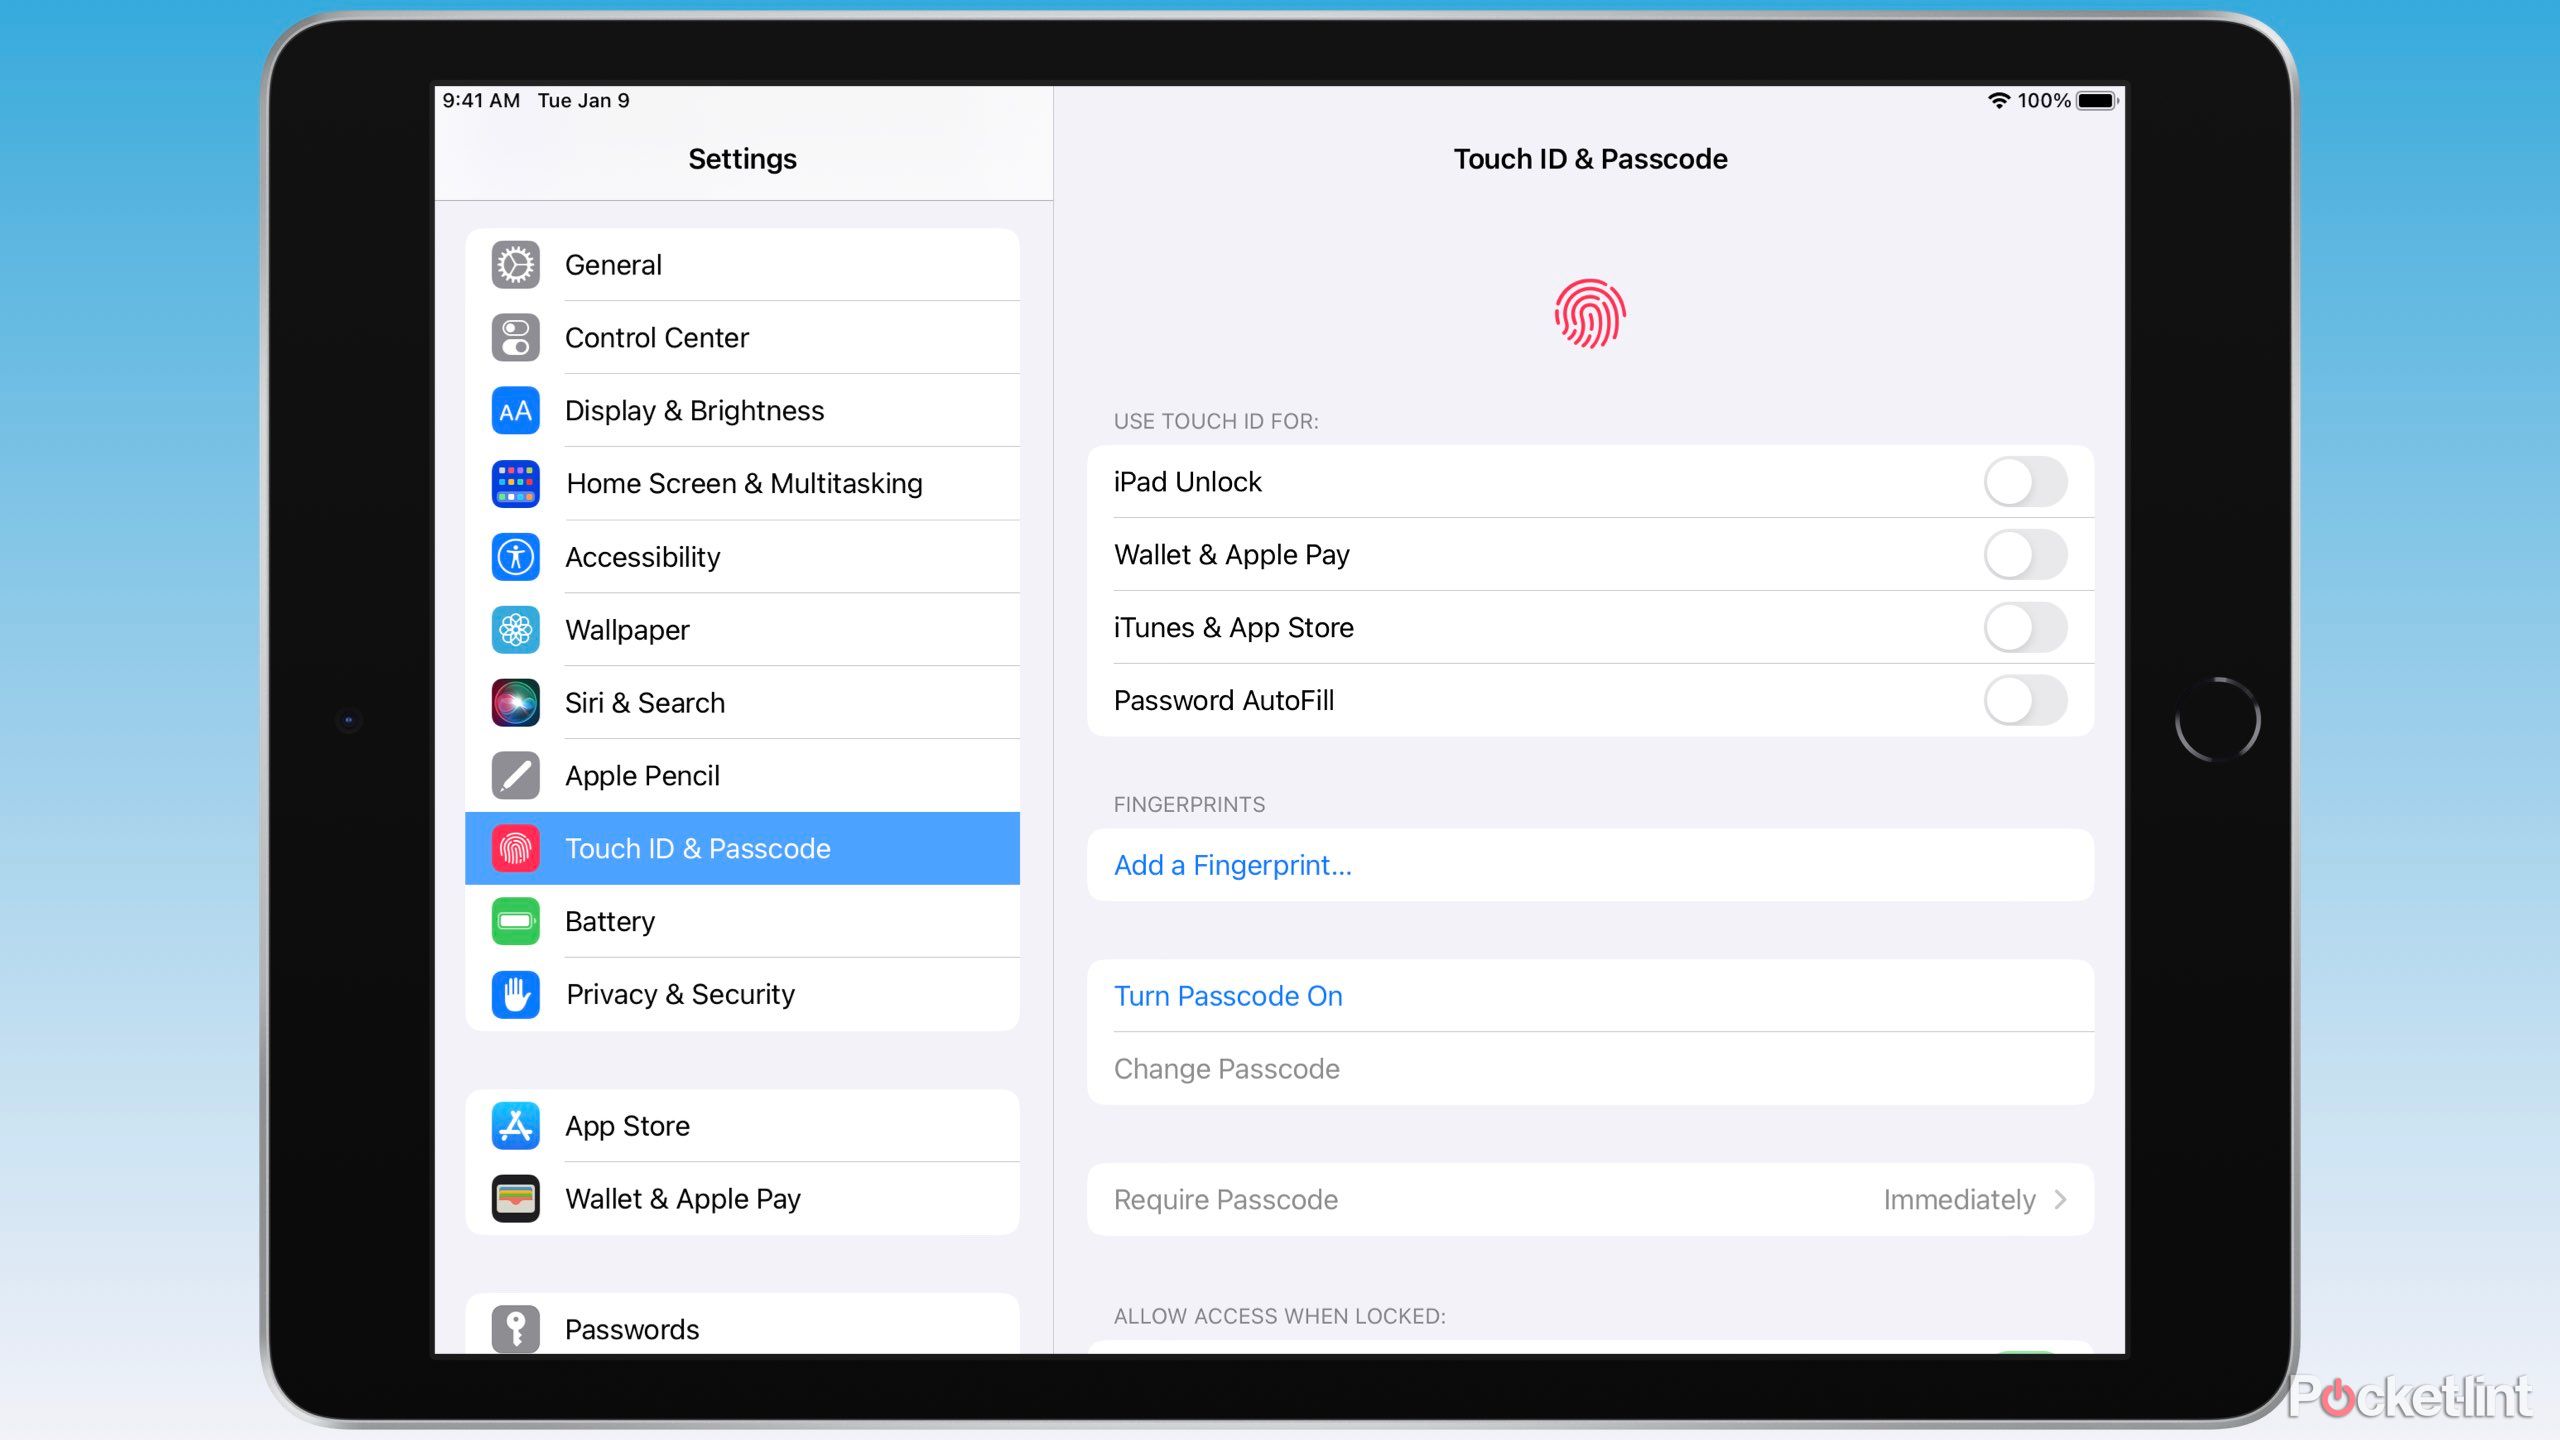
While using a passcode exclusively may feel more secure than a biometric, this isn’t actually the case. Using Touch IDand Face ID helps to keep your passcode confidential while being less likely to be cracked technologically. Plus, using a biometric is much quicker than typing a code every time.
Even if you aren’t a passcode user, Touch ID or Face ID can streamline the process of securely accessing your device enough to help convince you to use a passcode. Biometrics also don’t sync between new devices, so you’ll need to re-scan your fingerprint or face for a new device anyway.
To configure Touch ID or Face ID:
- Launch Settings.
- Tap Touch ID & Passcode or Face ID & Passcode.
- Select Add a Fingerprint… or Set Up Face ID.
- Follow the prompts.
3 Check for a software update
Make sure you’re up to date
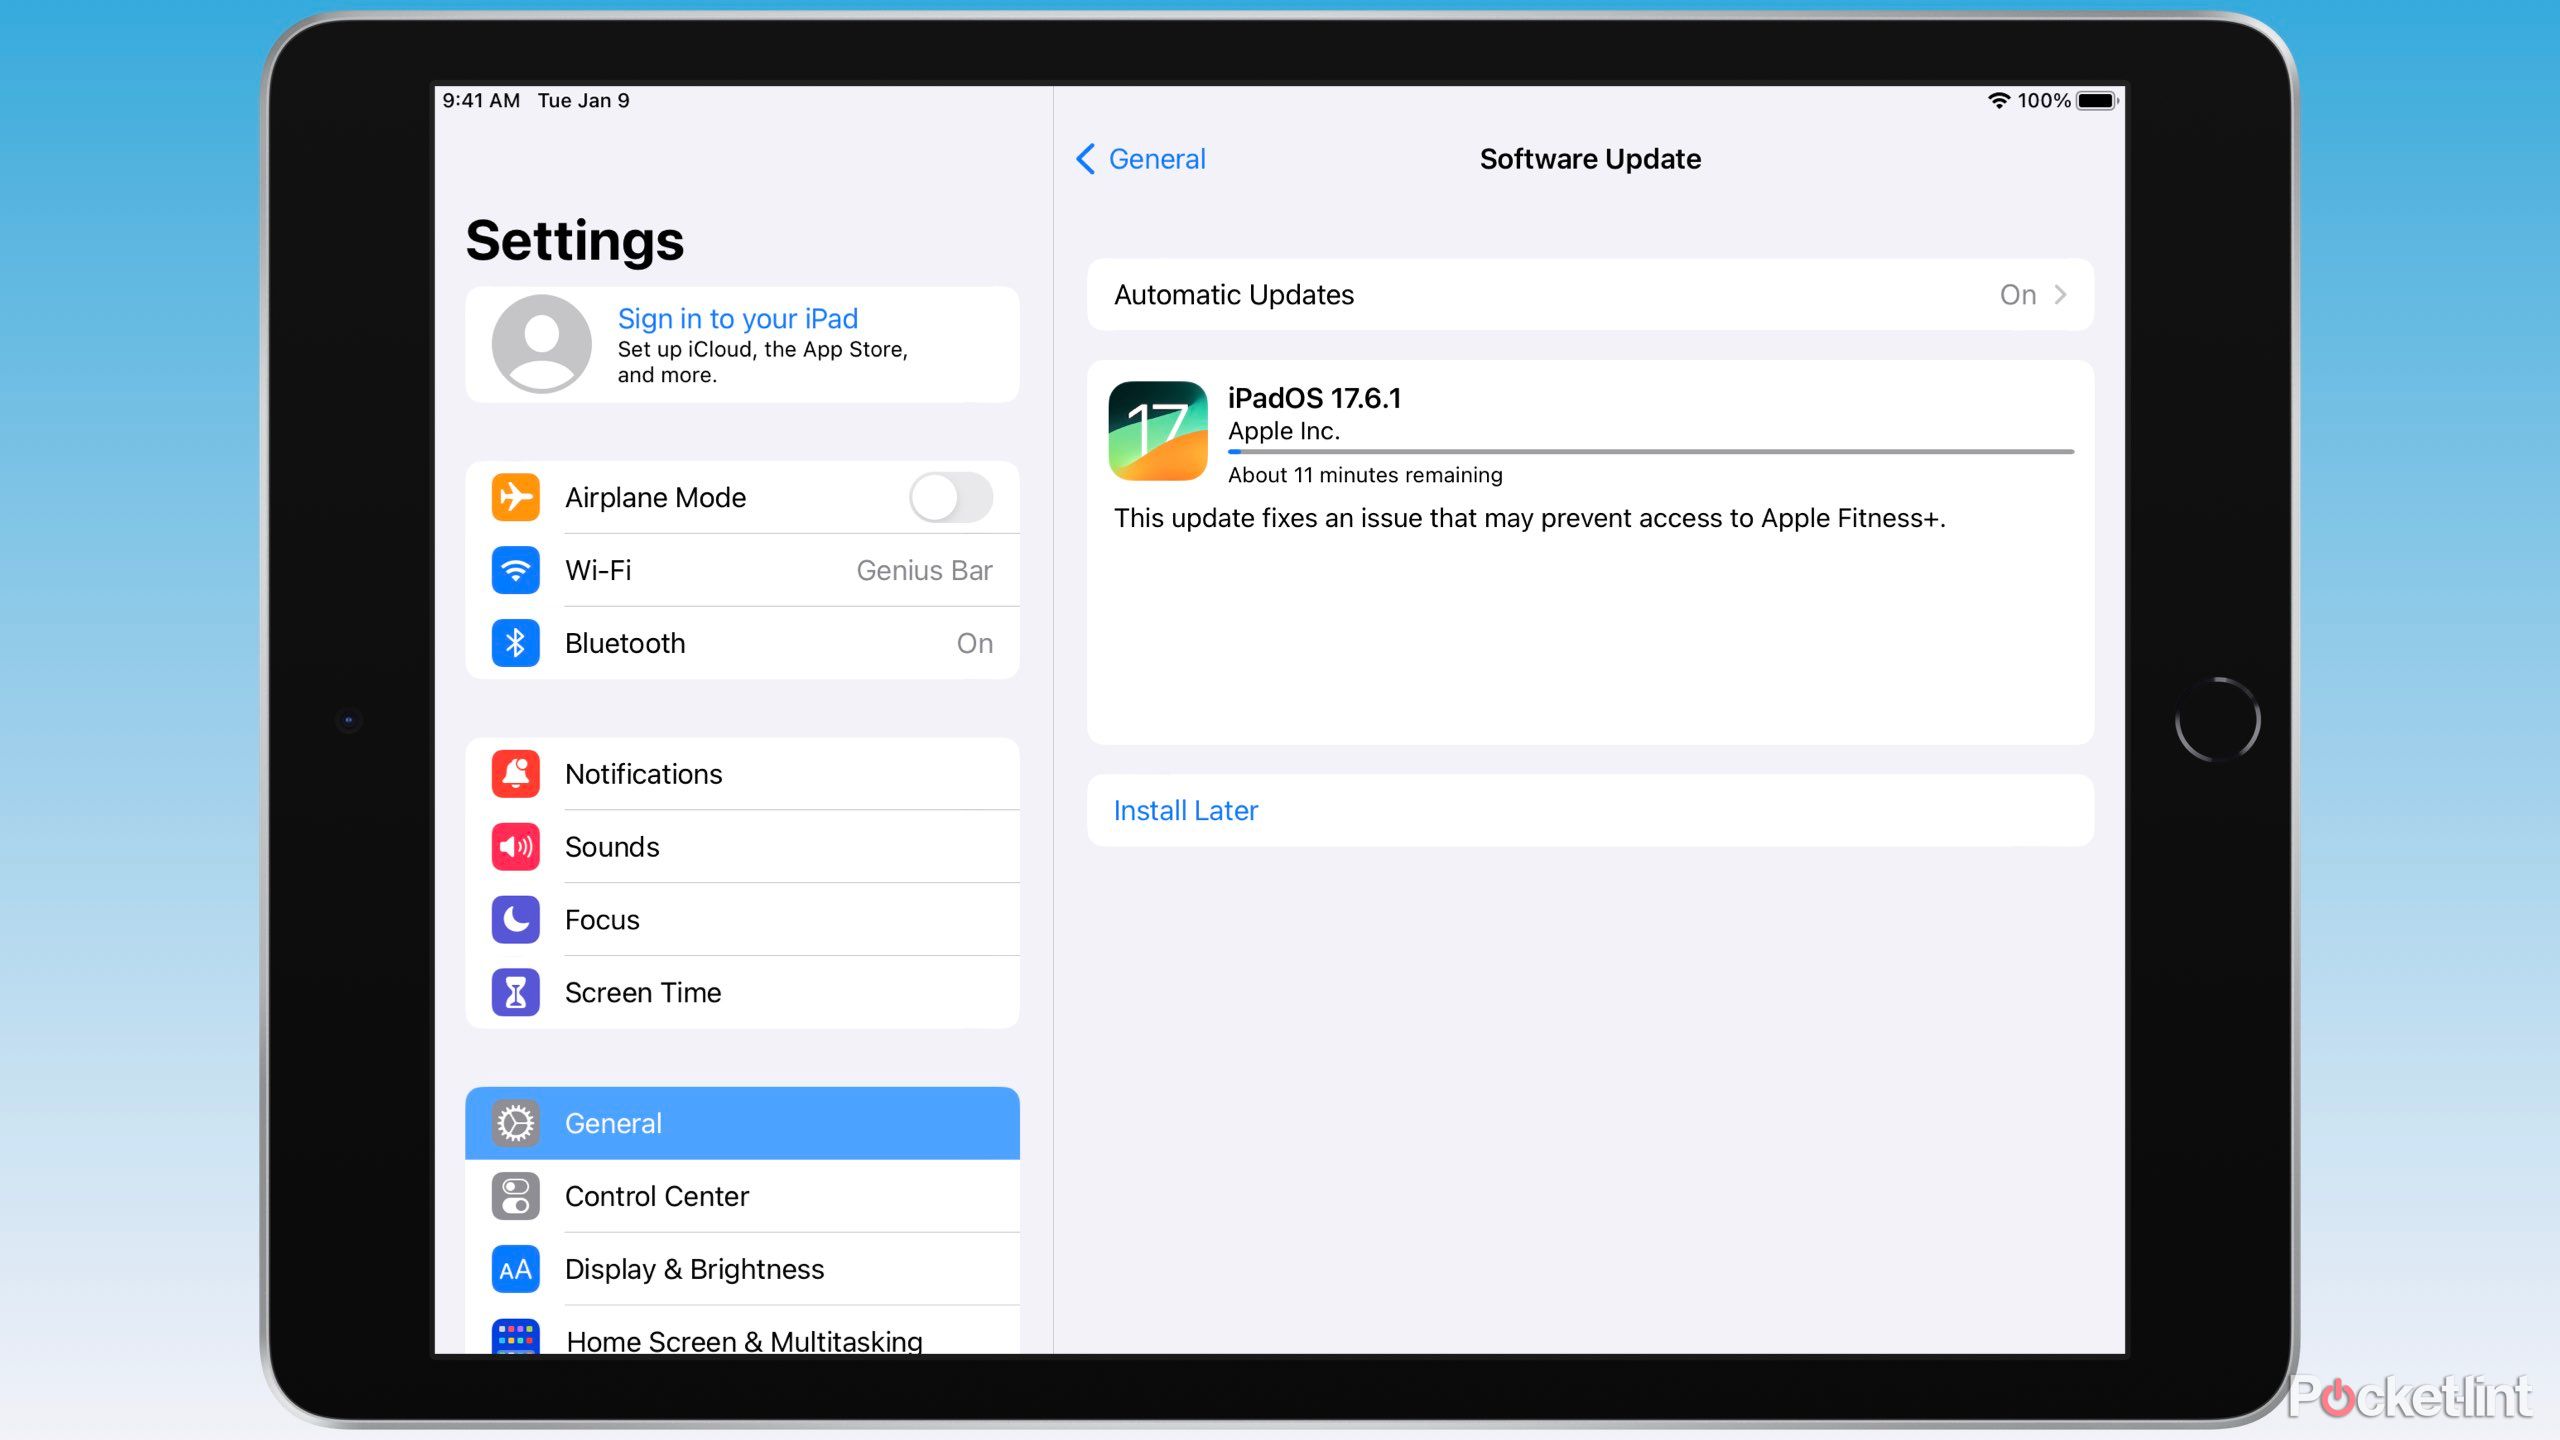
Next up in the iPad setup journey is verifying that your software is up to date. Ensuring your iPad is on the latest version of iPadOS helps protect you against vulnerabilities, patch bugs, and provides you with new features!
To verify your iPad is up-to-date:
- Launch Settings.
- Tap General.
- Select Software Update.
- Tap Download and Install if there’s a pending update to be completed, and follow any remaining prompts.
4 Configure your email accounts
It’s not just for emails
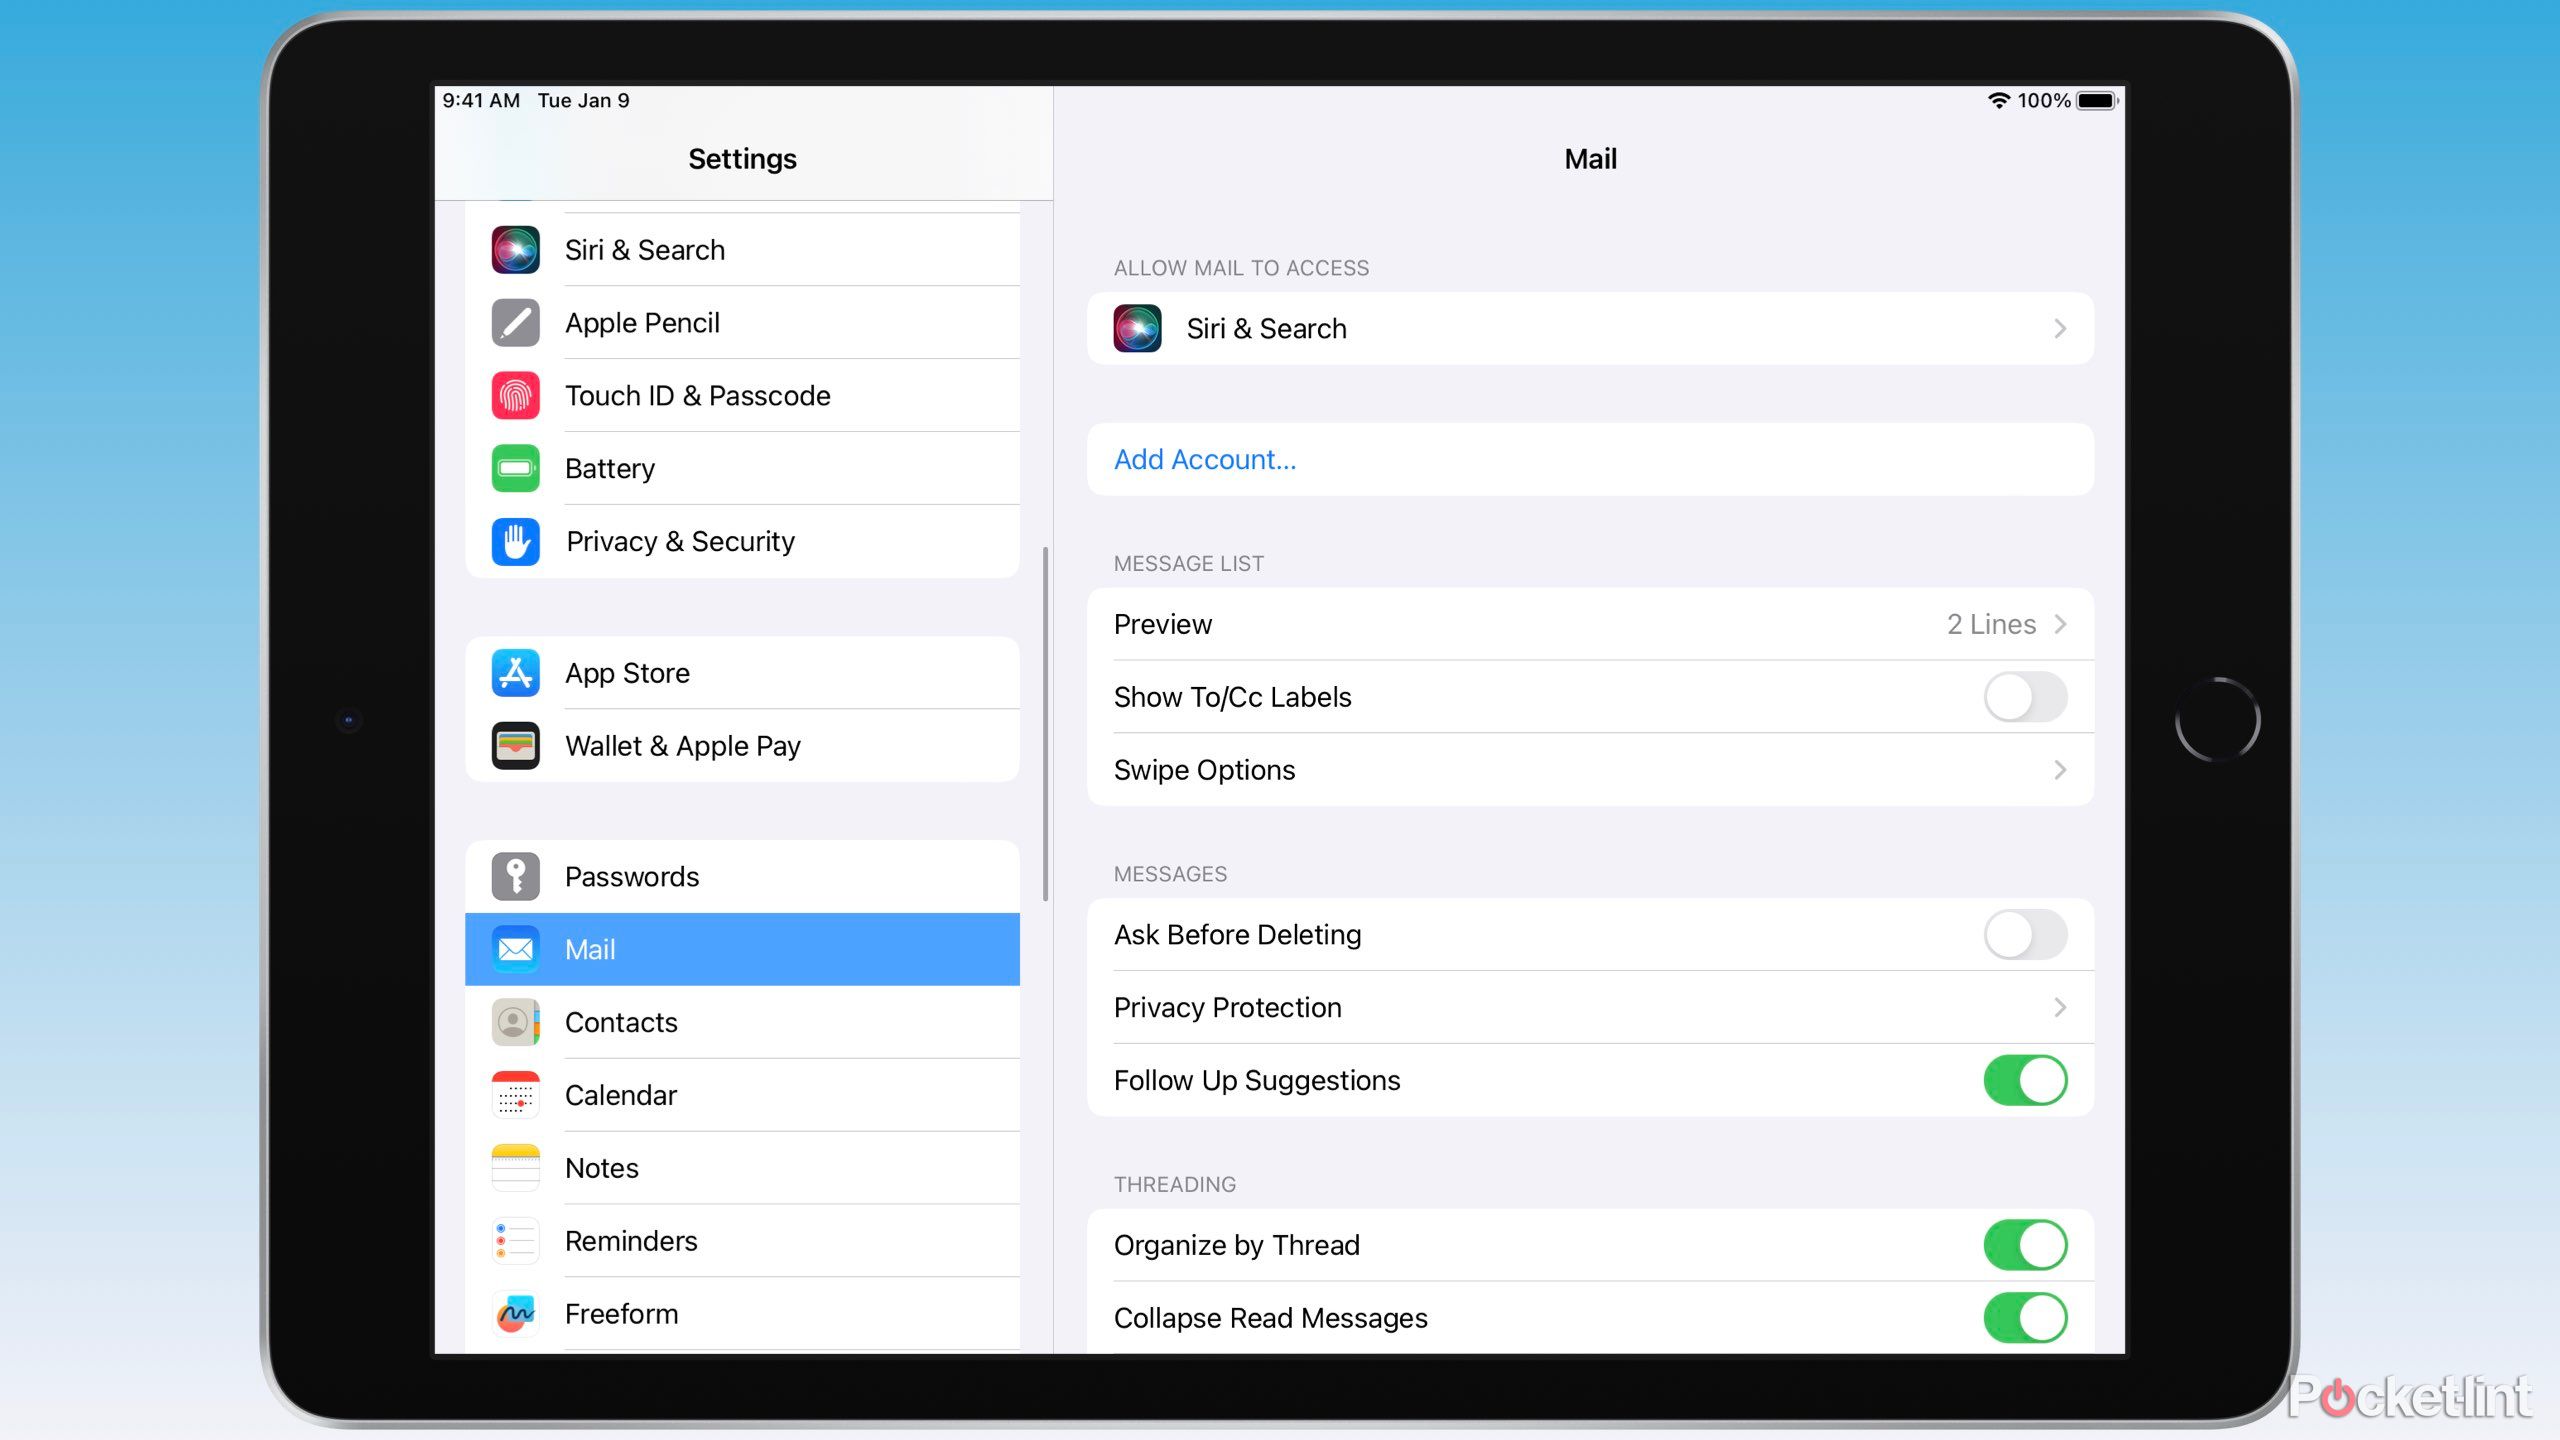
If you’re anything like me, you have several email accounts. Between various projects, they seem to accumulate. Frustratingly, Apple doesn’t sync email account passwords between devices via iCloud. Every time you set up a new device, you must re-enter your password to access your emails, contacts, calendars, and notes that may be linked to a particular account.
To add an account or verify a password:
- Launch Settings.
- Tap Mail, Contacts, Calendar, or Notes.
- Select Accounts.
- Tap Add Account, and follow the prompts to add a new account or tap an existing account listed.
- Verify your password.
5 Pair your Apple Pencil
Pairing is easy
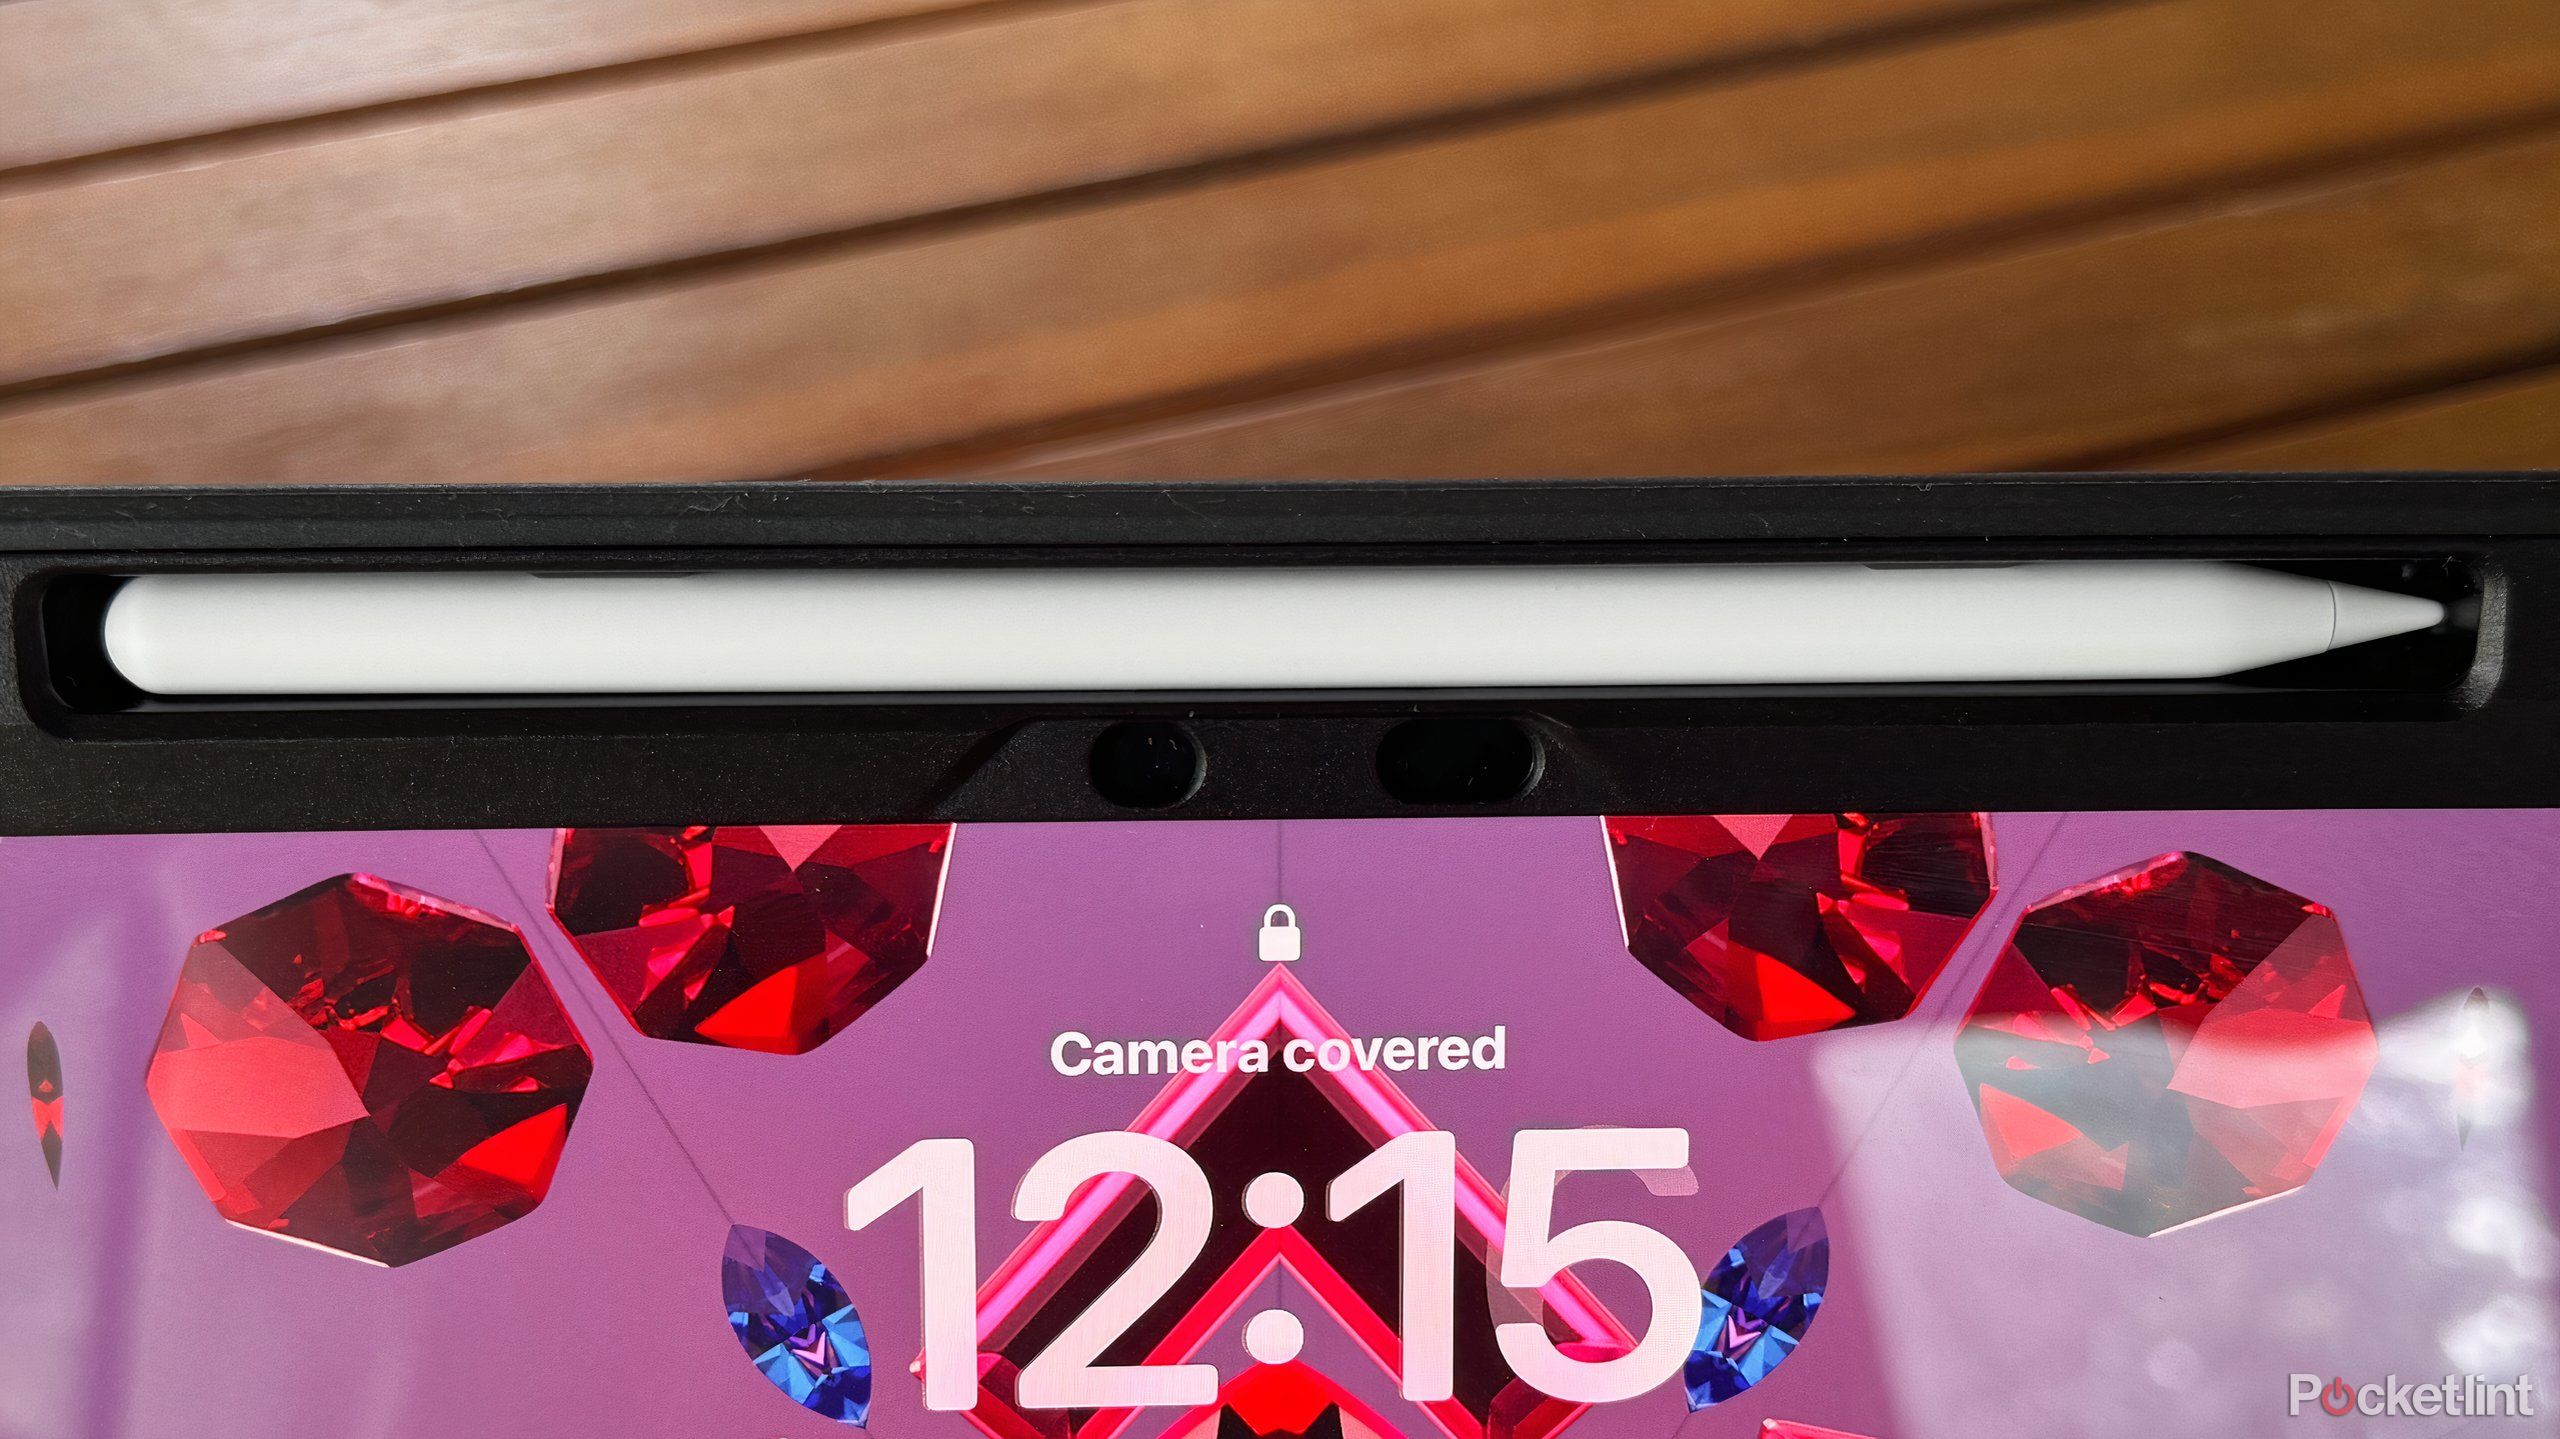
Assuming you also grabbed an Apple Pencil for your iPad, you’ll need to pair it.
Apple Pencils are excellent accessories for note-taking at school and artistic design, among much more. Depending on your Apple Pencil, your pairing method may vary, but the process is easy regardless. For the USB-C or Lightning Apple Pencils, plug them directly into the iPad. For the 2nd-generation Apple Pencil and Apple Pencil Pro, magically attach those to the side of your compatible iPad.
In any case, tap ‘Pair’ on your iPad when prompted.
6 Claim your free trials
Take advantage
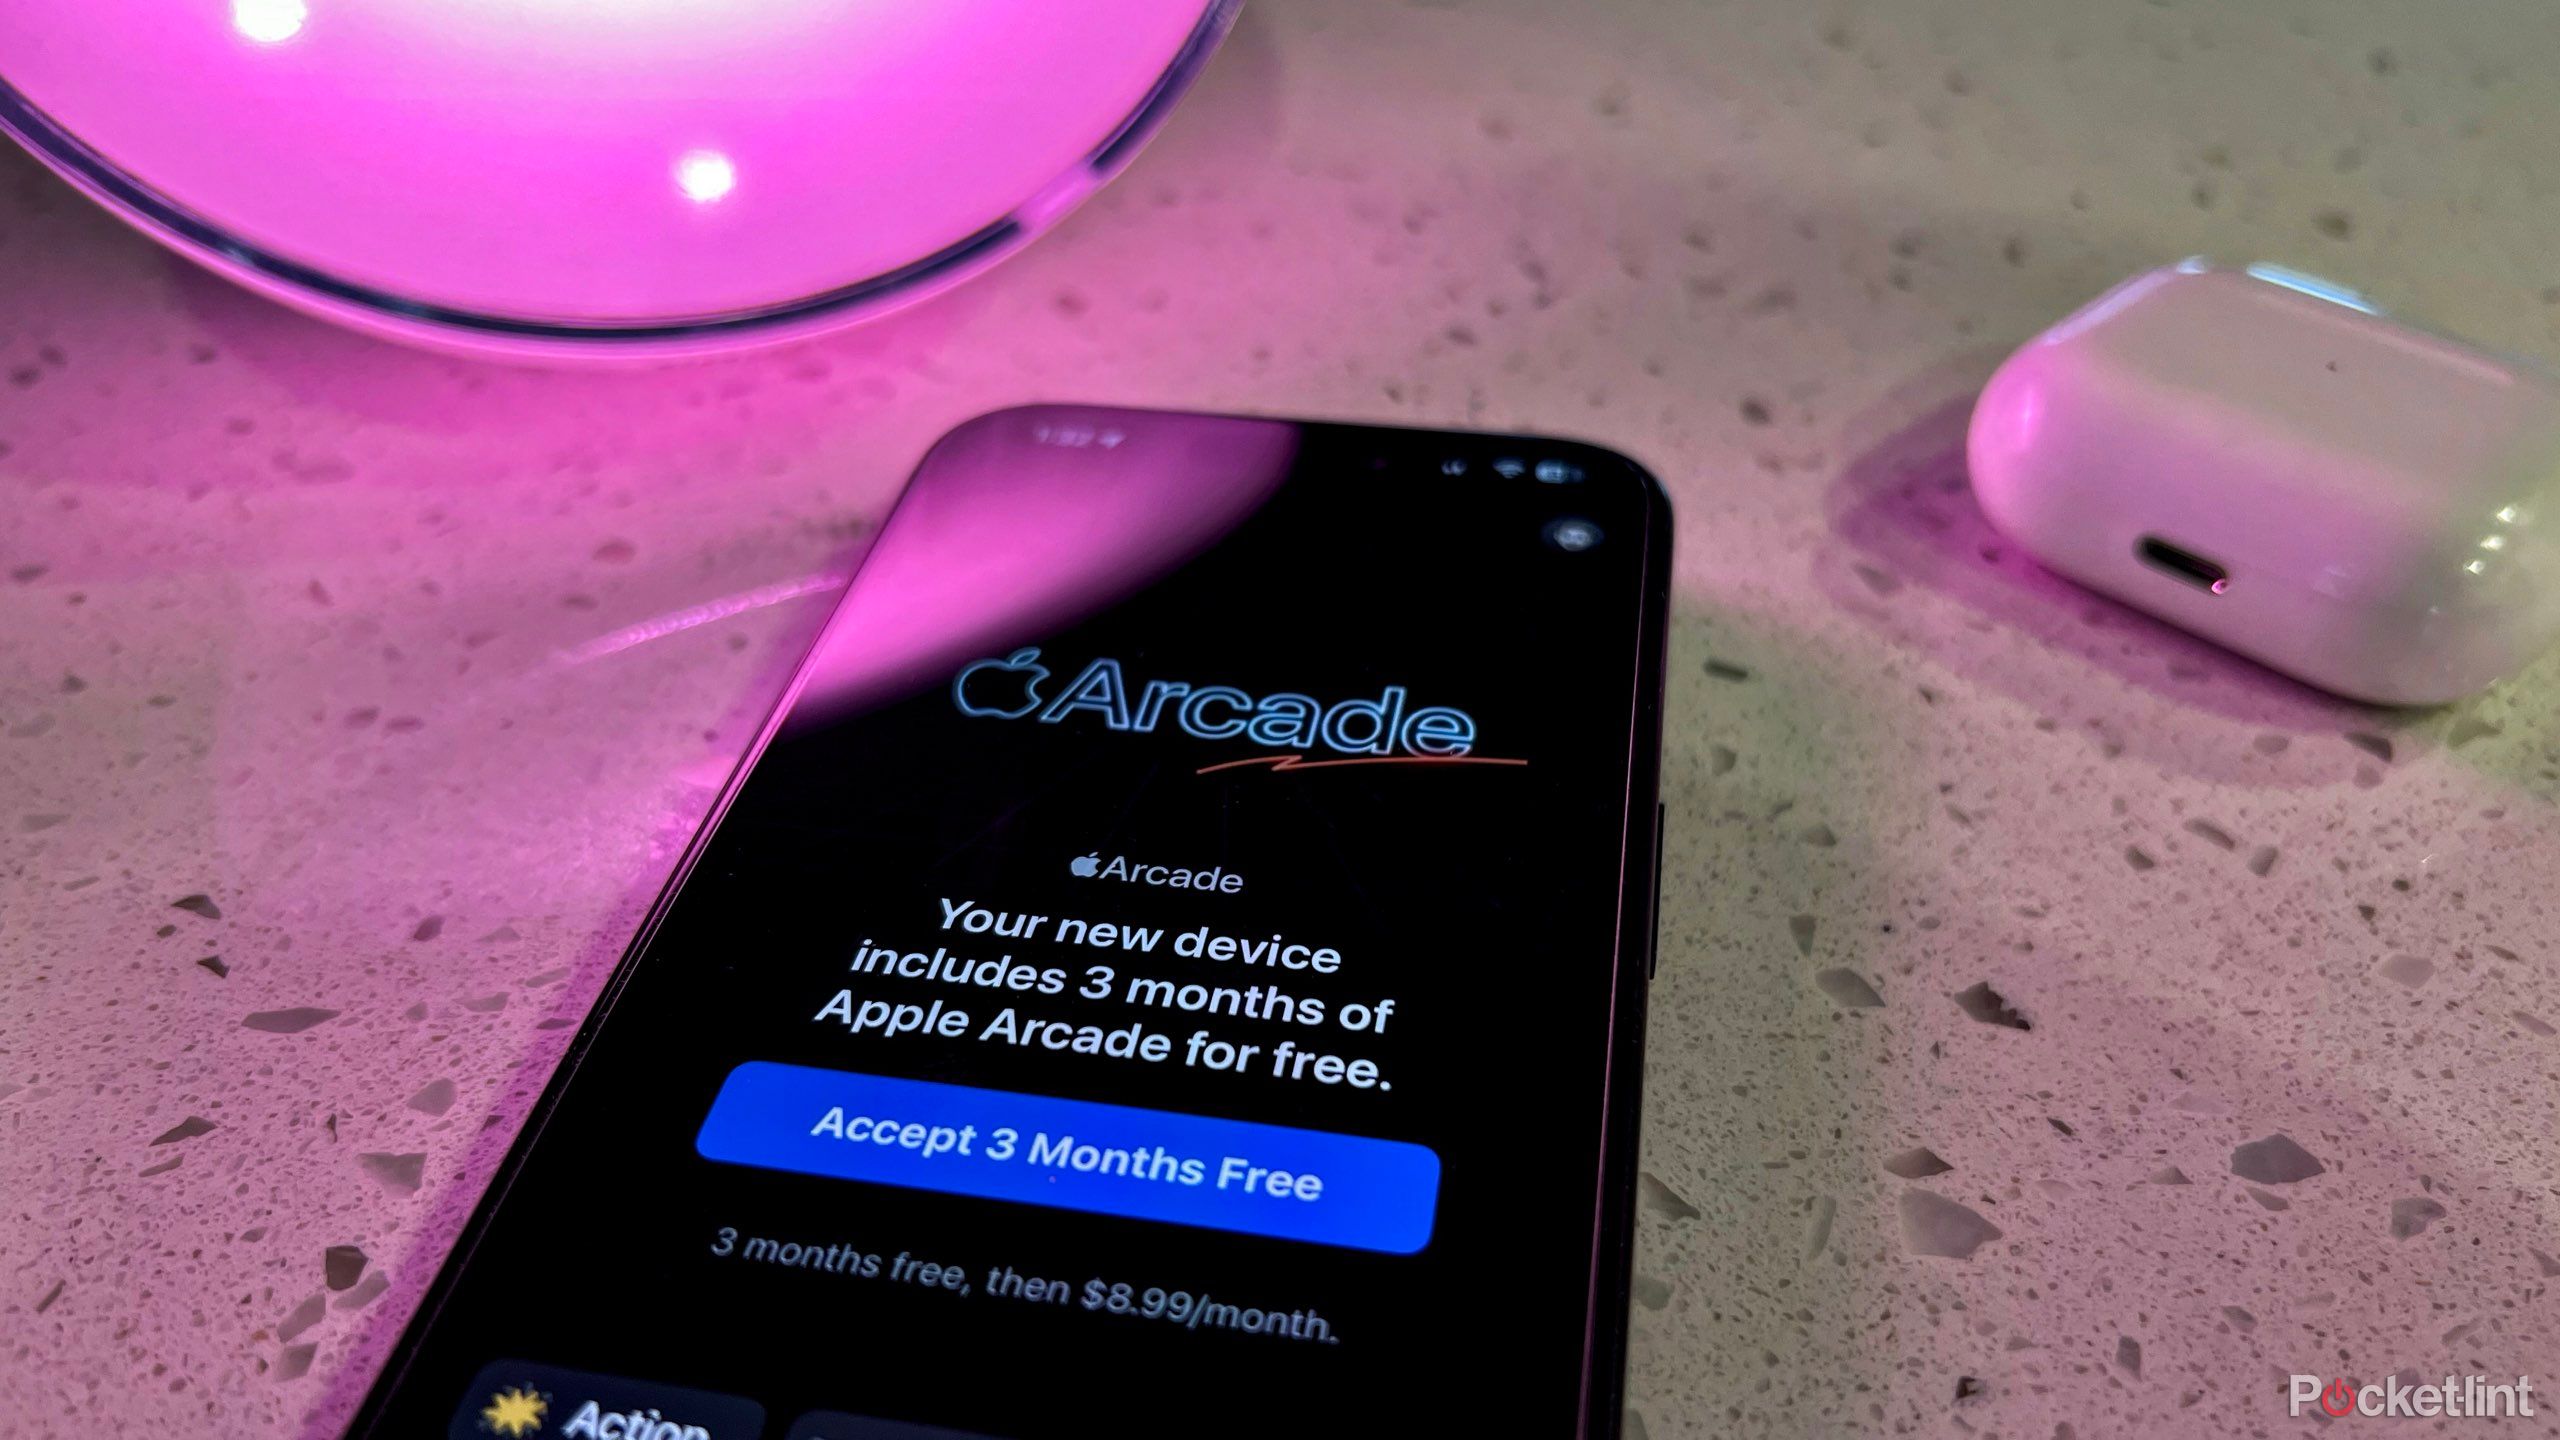
Apple is offering extended three-month free trials for brand-new subscribers of Apple News+, Arcade, Fitness+, and TV+ with the purchase of every new iPad. If eligible, a ‘free trial’ banner appears in the Settings app on your iPad, along with a notification indicator, until you take action or dismiss the alert.
If you’ve ever been interested in trying any of those services, taking advantage of the extended free trials offered by your new iPad is an excellent opportunity to see if you like them and save a little money while you’re at it. Remember that when signing up for the trials, you must have a credit card on file or store credit on your Apple Account, as the subscriptions will auto-renew at the end of the trial unless canceled.
7 Enable Text Message Forwarding
Optimize your messaging experience
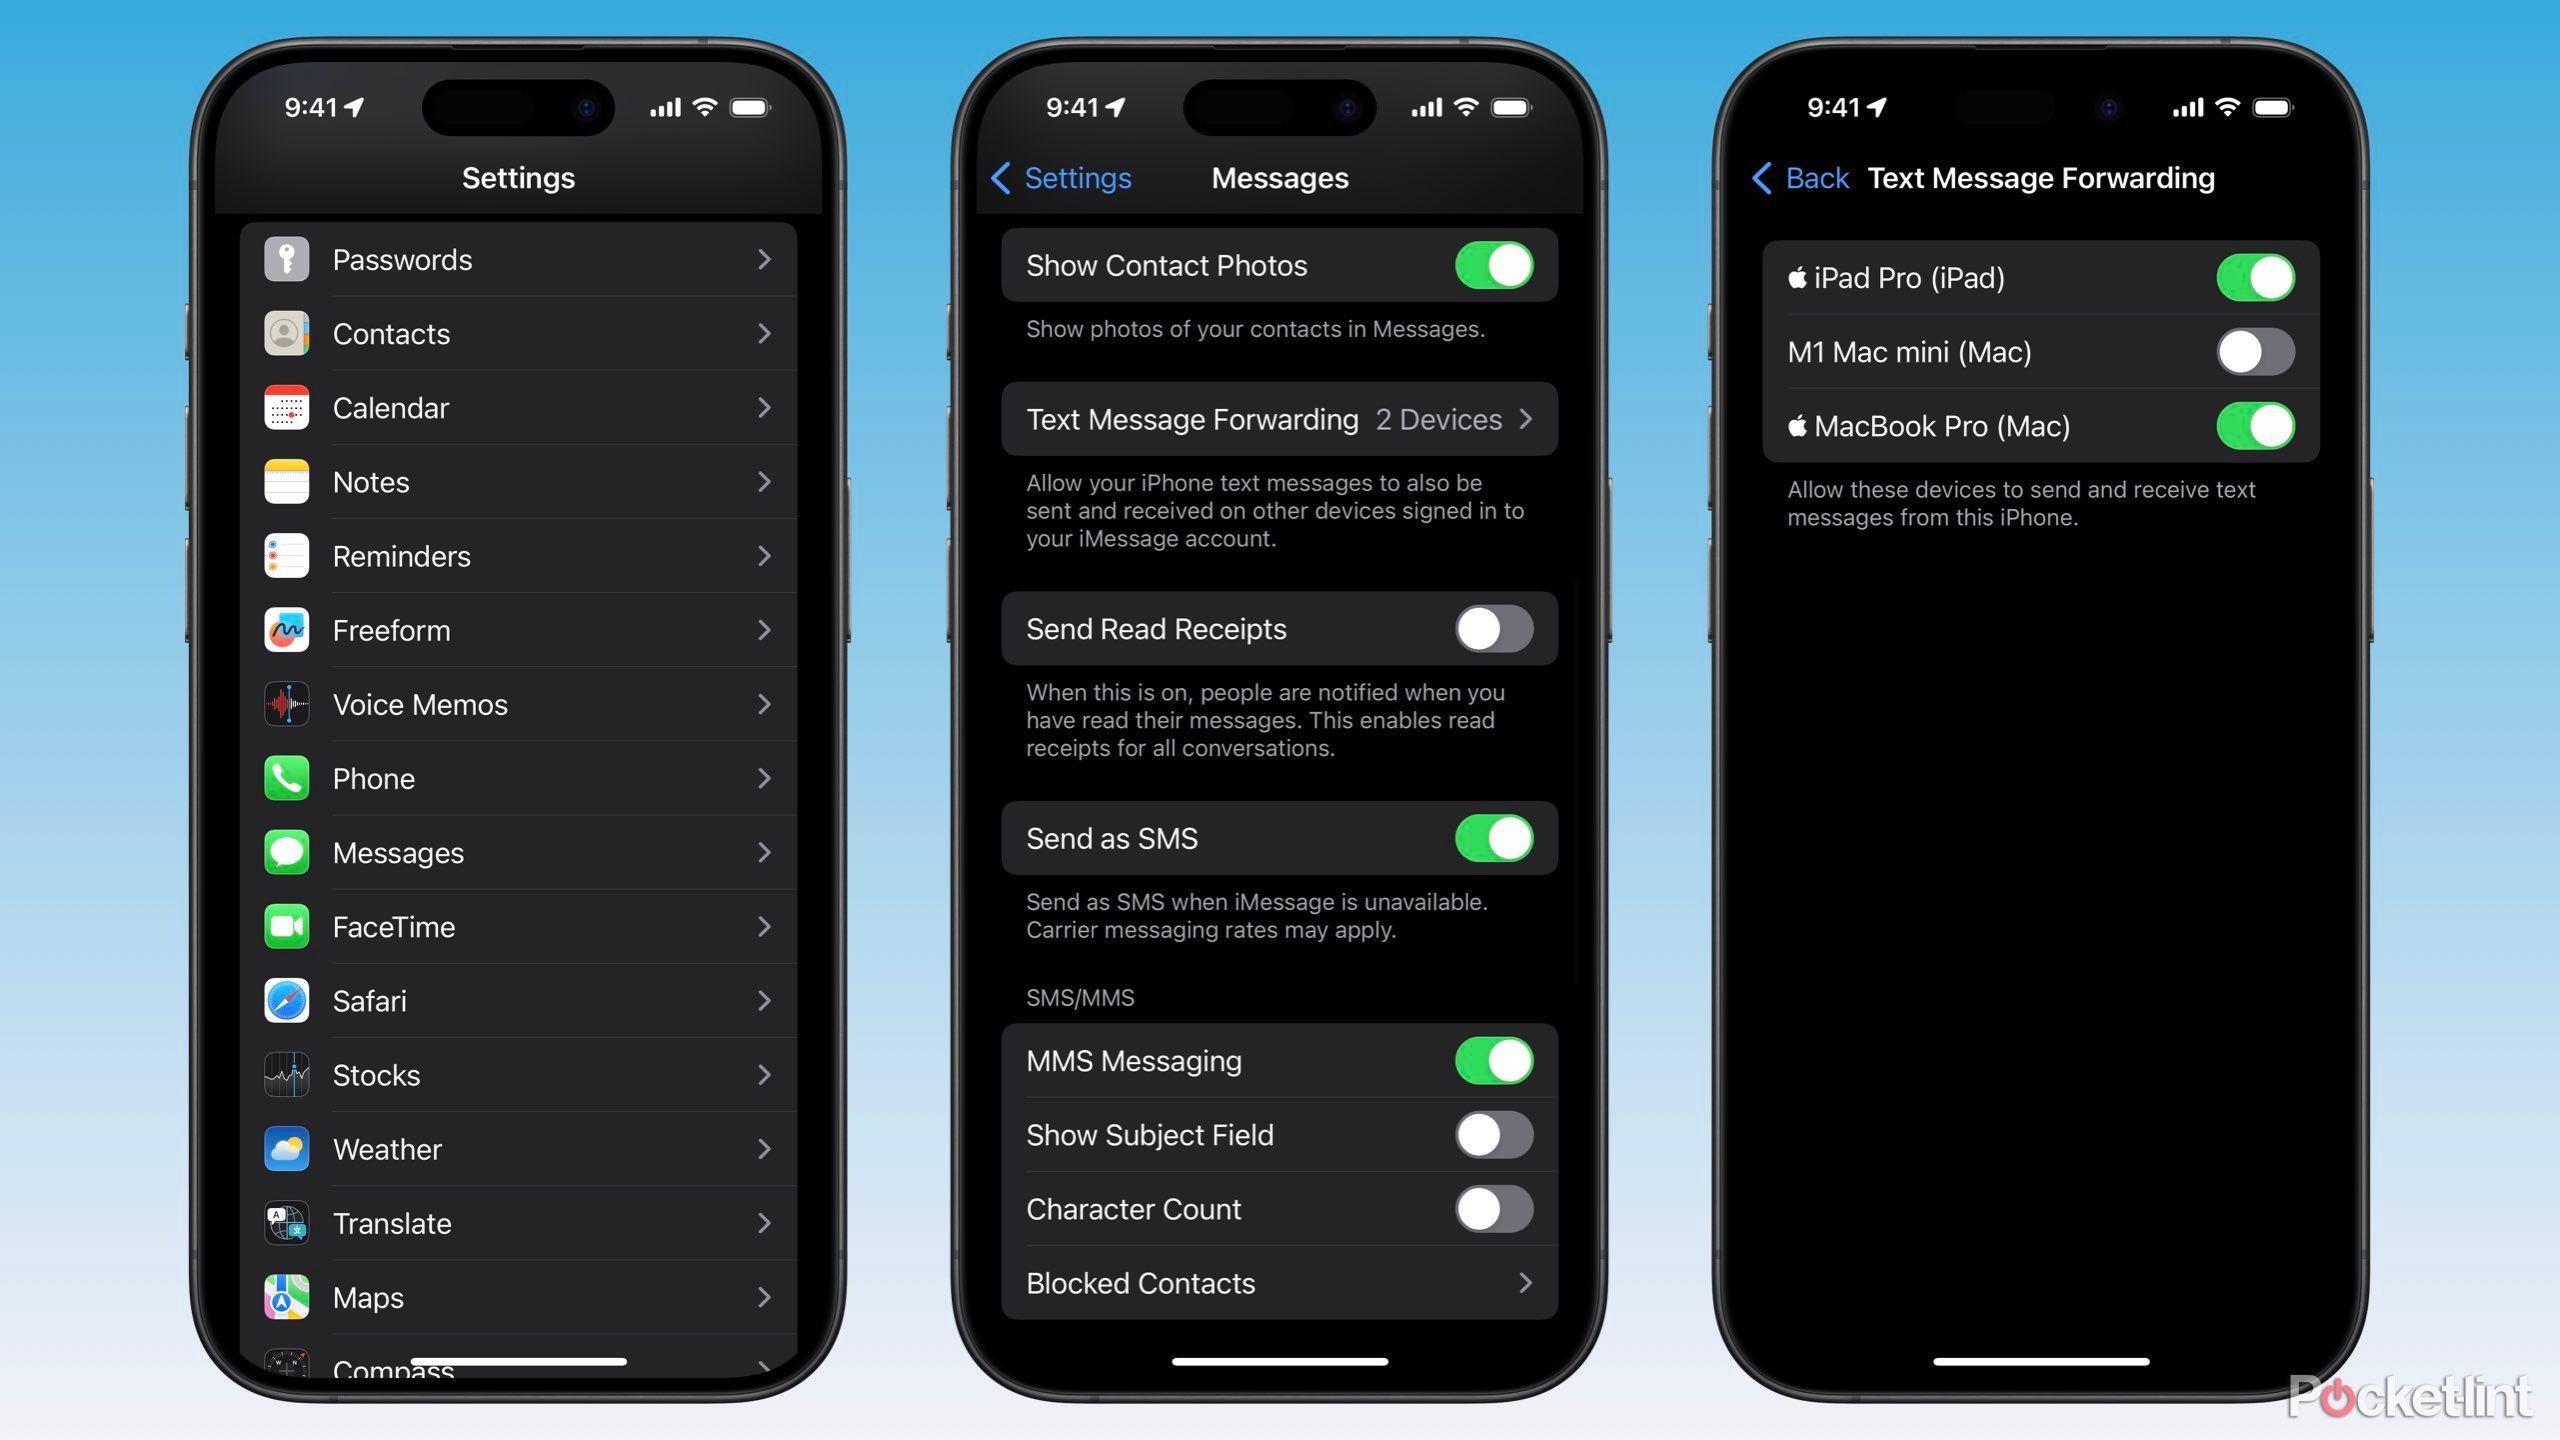
This second-to-last recommendation is technically an iPhone feature, but one I struggle to live without. iPads and Macs can receive and reply to SMS messages sent to your iPhone by telling the iPhone that forwarding these messages to permitted devices is okay. I highly recommend enabling this feature to maintain the best messaging experience on your iPad.
To enable Text Message Forwarding, make sure you’re signed in to the same Apple Account (formerly Apple ID) on both devices. Then, follow these instructions:
- Launch Settings on your iPhone.
- Scroll down and tap Messages.
- Select Text Message Forwarding.
- Locate your iPad in the list of devices, and toggle it on (green).
8 Let your content sync
Connect and wait
Upon completing the rest of your iPad setup, I recommend leaving your iPad to sit overnight to download content from iCloud. Messages, photos, and files are all examples that download over a night or two after signing into a new iPad. Now, this doesn’t mean you can’t use your iPad throughout the day.
On the contrary, you only need to ensure your iPad is connected to Wi-Fi and plugged into power before bed. Put your iPad to sleep but not entirely powered off. After a night or two, the entire library of content should be downloaded to your new iPad.
Trending Products

